As Featured on the TODAY Show: Door-to-Tabletop Fall Decor You Can Make at Home
Nov 21, 2025
Fall might be one of our favorite flower seasons, but the foliage is what truly steals our hearts. Those deep jewel tones and soft, cozy textures just have a way of making everything feel a little more autumn-hugged.
We’re bringing all that fall goodness indoors — turning simple, easy-to-forage foliage into a wreath and garland that carry the season’s charm from your front door to your dinner table.
We’re also sharing our latest design obsession: FLOWER FROGS!
Just like in fashion, what’s old is new again — these vintage metal pieces make ikebana-inspired, airy arrangements surprisingly simple, with only a few stems!
They’re the secret to turning just a few flowers into a showstopper of a centerpiece. Honestly, they might be the most fun we’ve had with flowers all year. And paired with a fresh garland, they create a Thanksgiving (or really any holiday or feast-like occassion) tablescape that feels warm, elegant, and budget-friendly.
Designing a Wreath and a Garland
The beauty of this project is that the same simple technique works for both a wreath and a garland. Once you learn this easy bundle method, you can dress up your door, table, mantel, or banister without changing a thing.
Here’s what you’ll need:
- A wreath base (for a wreath) or twine/ribbon (for a garland) - available at your local craft and/or floral supply stores
- Floral paddle wire - available at craft, floral supply, and/or hardware stores.
- Clippers or garden shears Our favorite? We love Chikamasa for the cleanest cuts.
That’s it! Supplies gathered? Let’s get crafting.
Sourcing
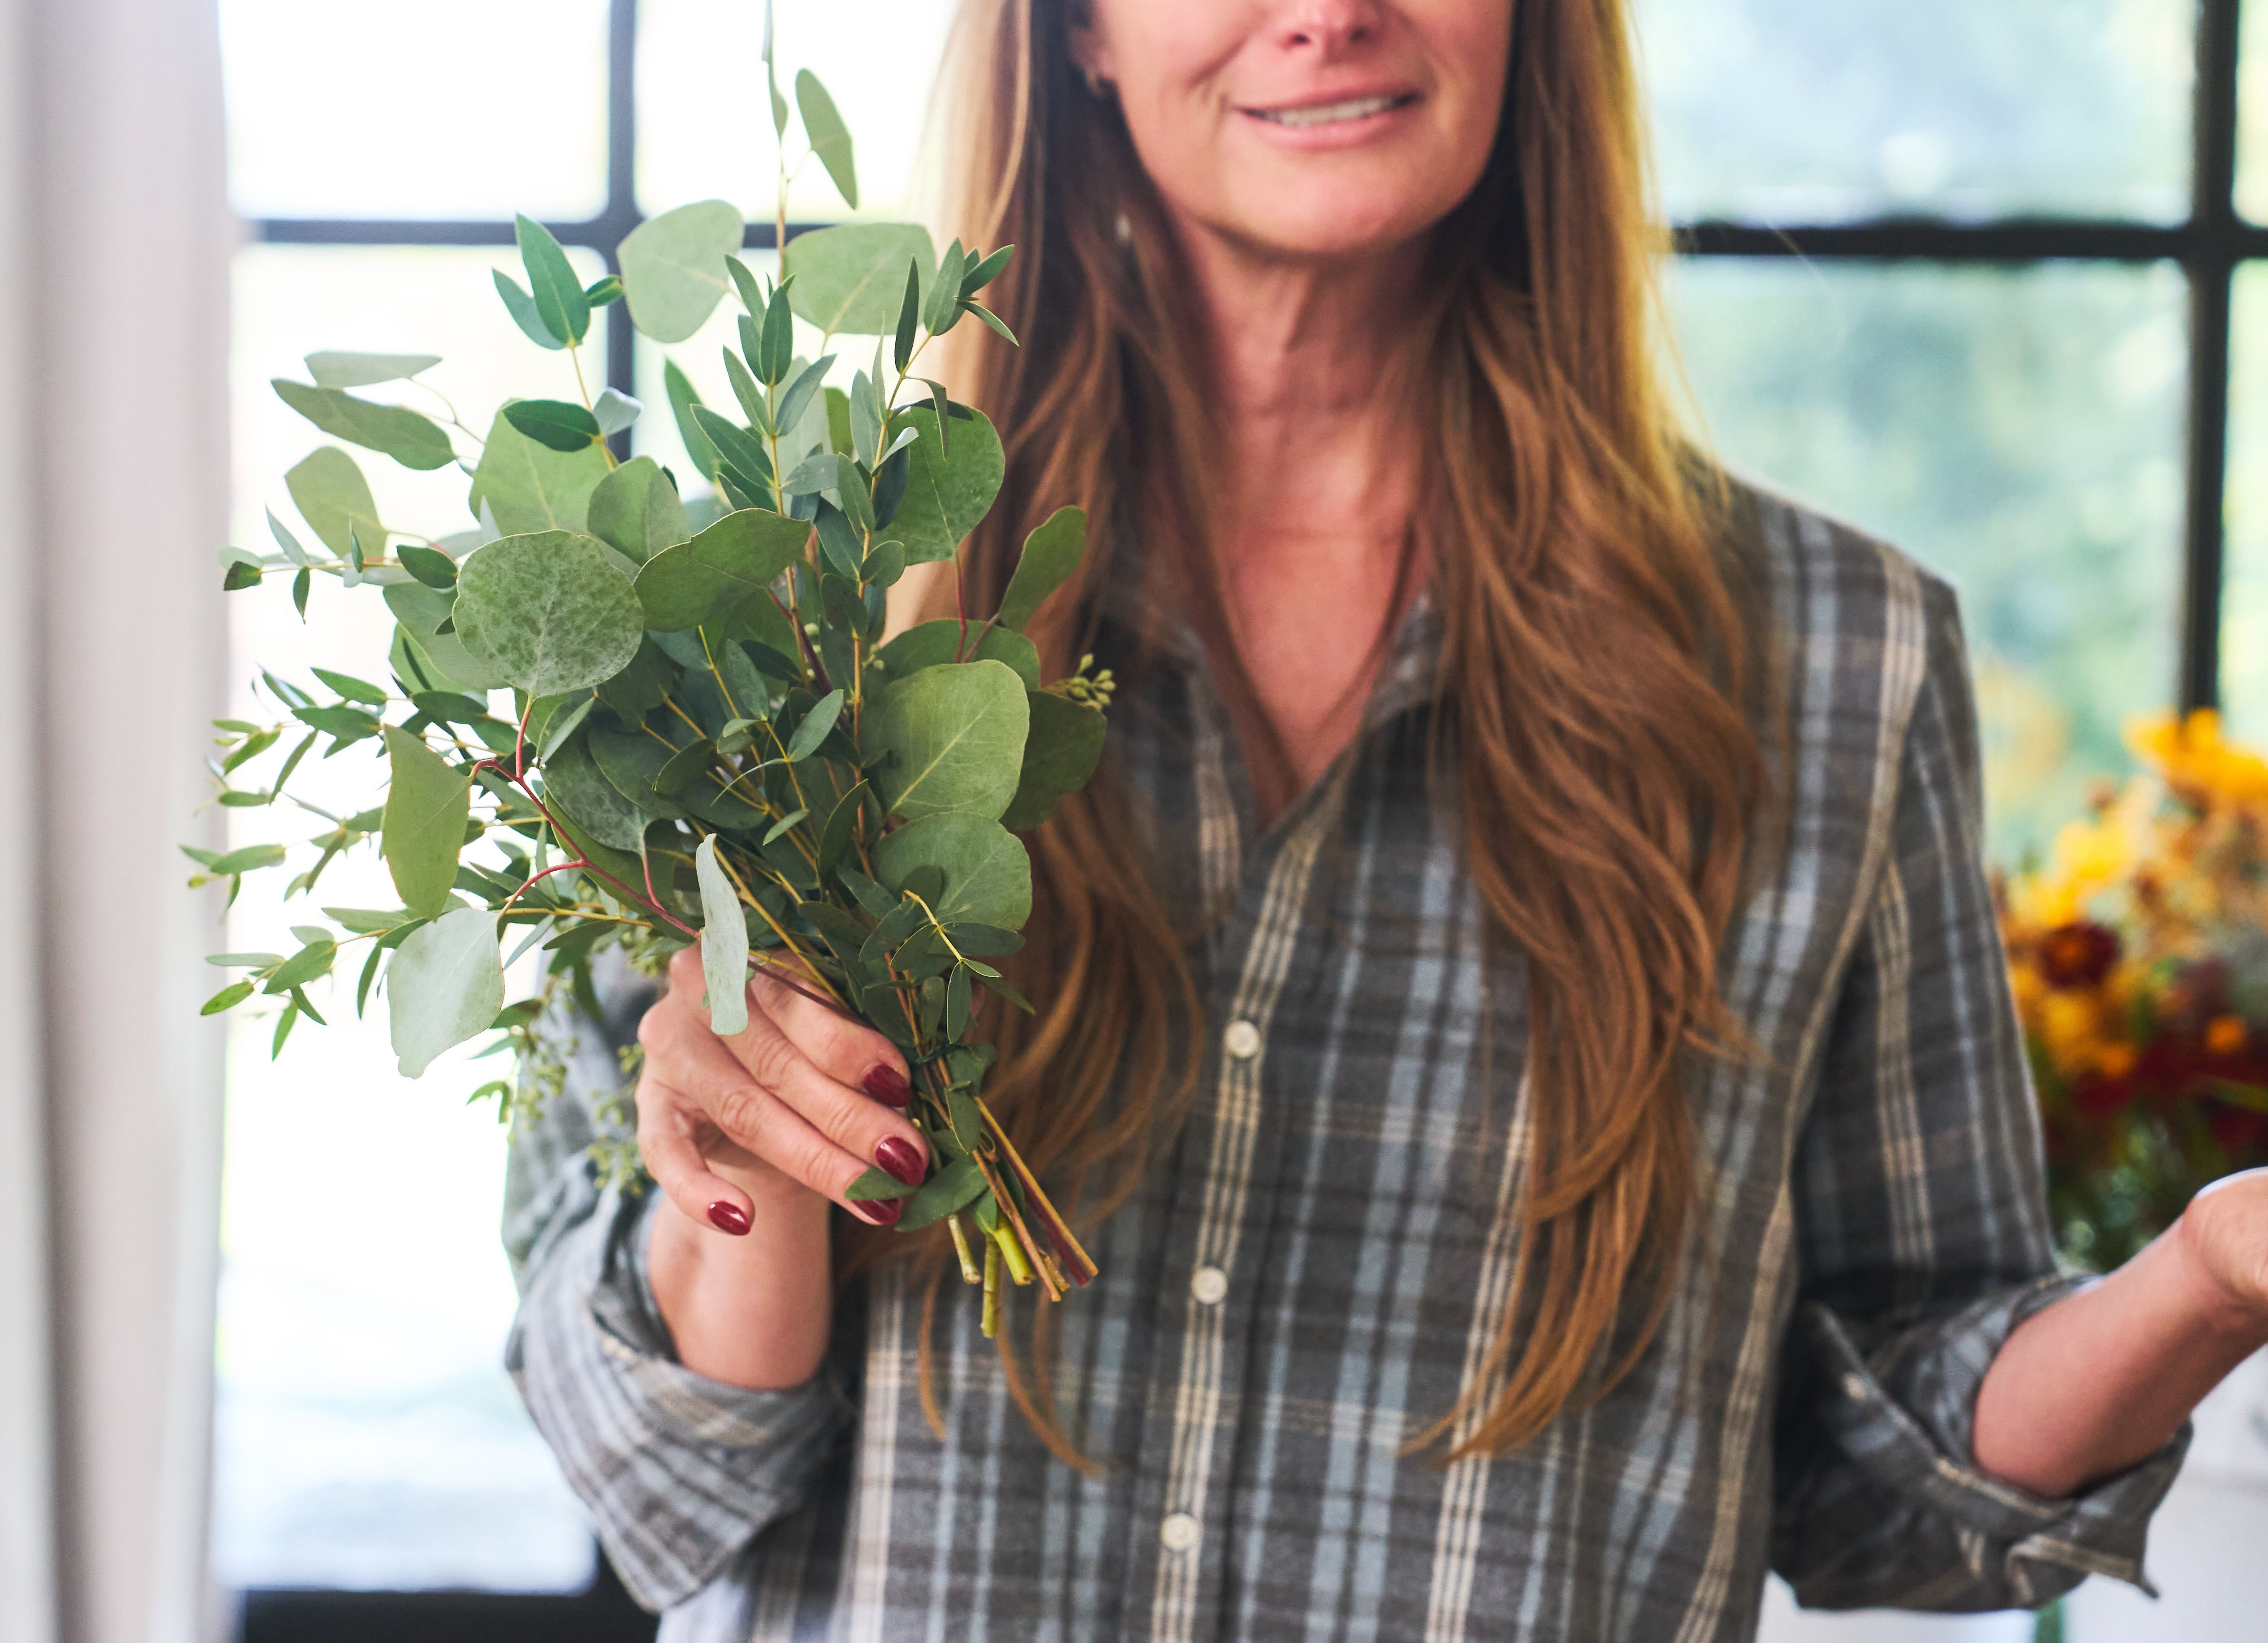
Before we start bundling, gather your greens! Snip a mix of foliage from your yard (or your very generous neighbor’s).
If you don't have any available around, you can get one of our Big Boxes of greens that have a perfect mix of greens to build a magnificent garland or wreath:
Pro tips:
- Aim for pieces that are 7” - 12” long
- Want a little scent? Try eucalyptus, cedar, or pine.
- Prefer something subtle? Olive, boxwood, and oak are beautiful and scent-free.
- For a tidier, more traditional look, stick to a single type of foliage.
- For something looser & wilder, forage 3–5 different varieties.
- Fresh is best! Harvest the day of or the day before. If you need more time, keep stems in water and you can forage up to a week ahead.
Want to skip right to the flowers?
If you think this DIY is not really for you, and you want to jump into the flower part, you can get one of our pre-made, ready-to-show-off Wreaths and Garlands! Then scroll to start playing with Flower Frogs!
But if you're ready to dive into foliage territory, here's the step-by-step!
The Technique
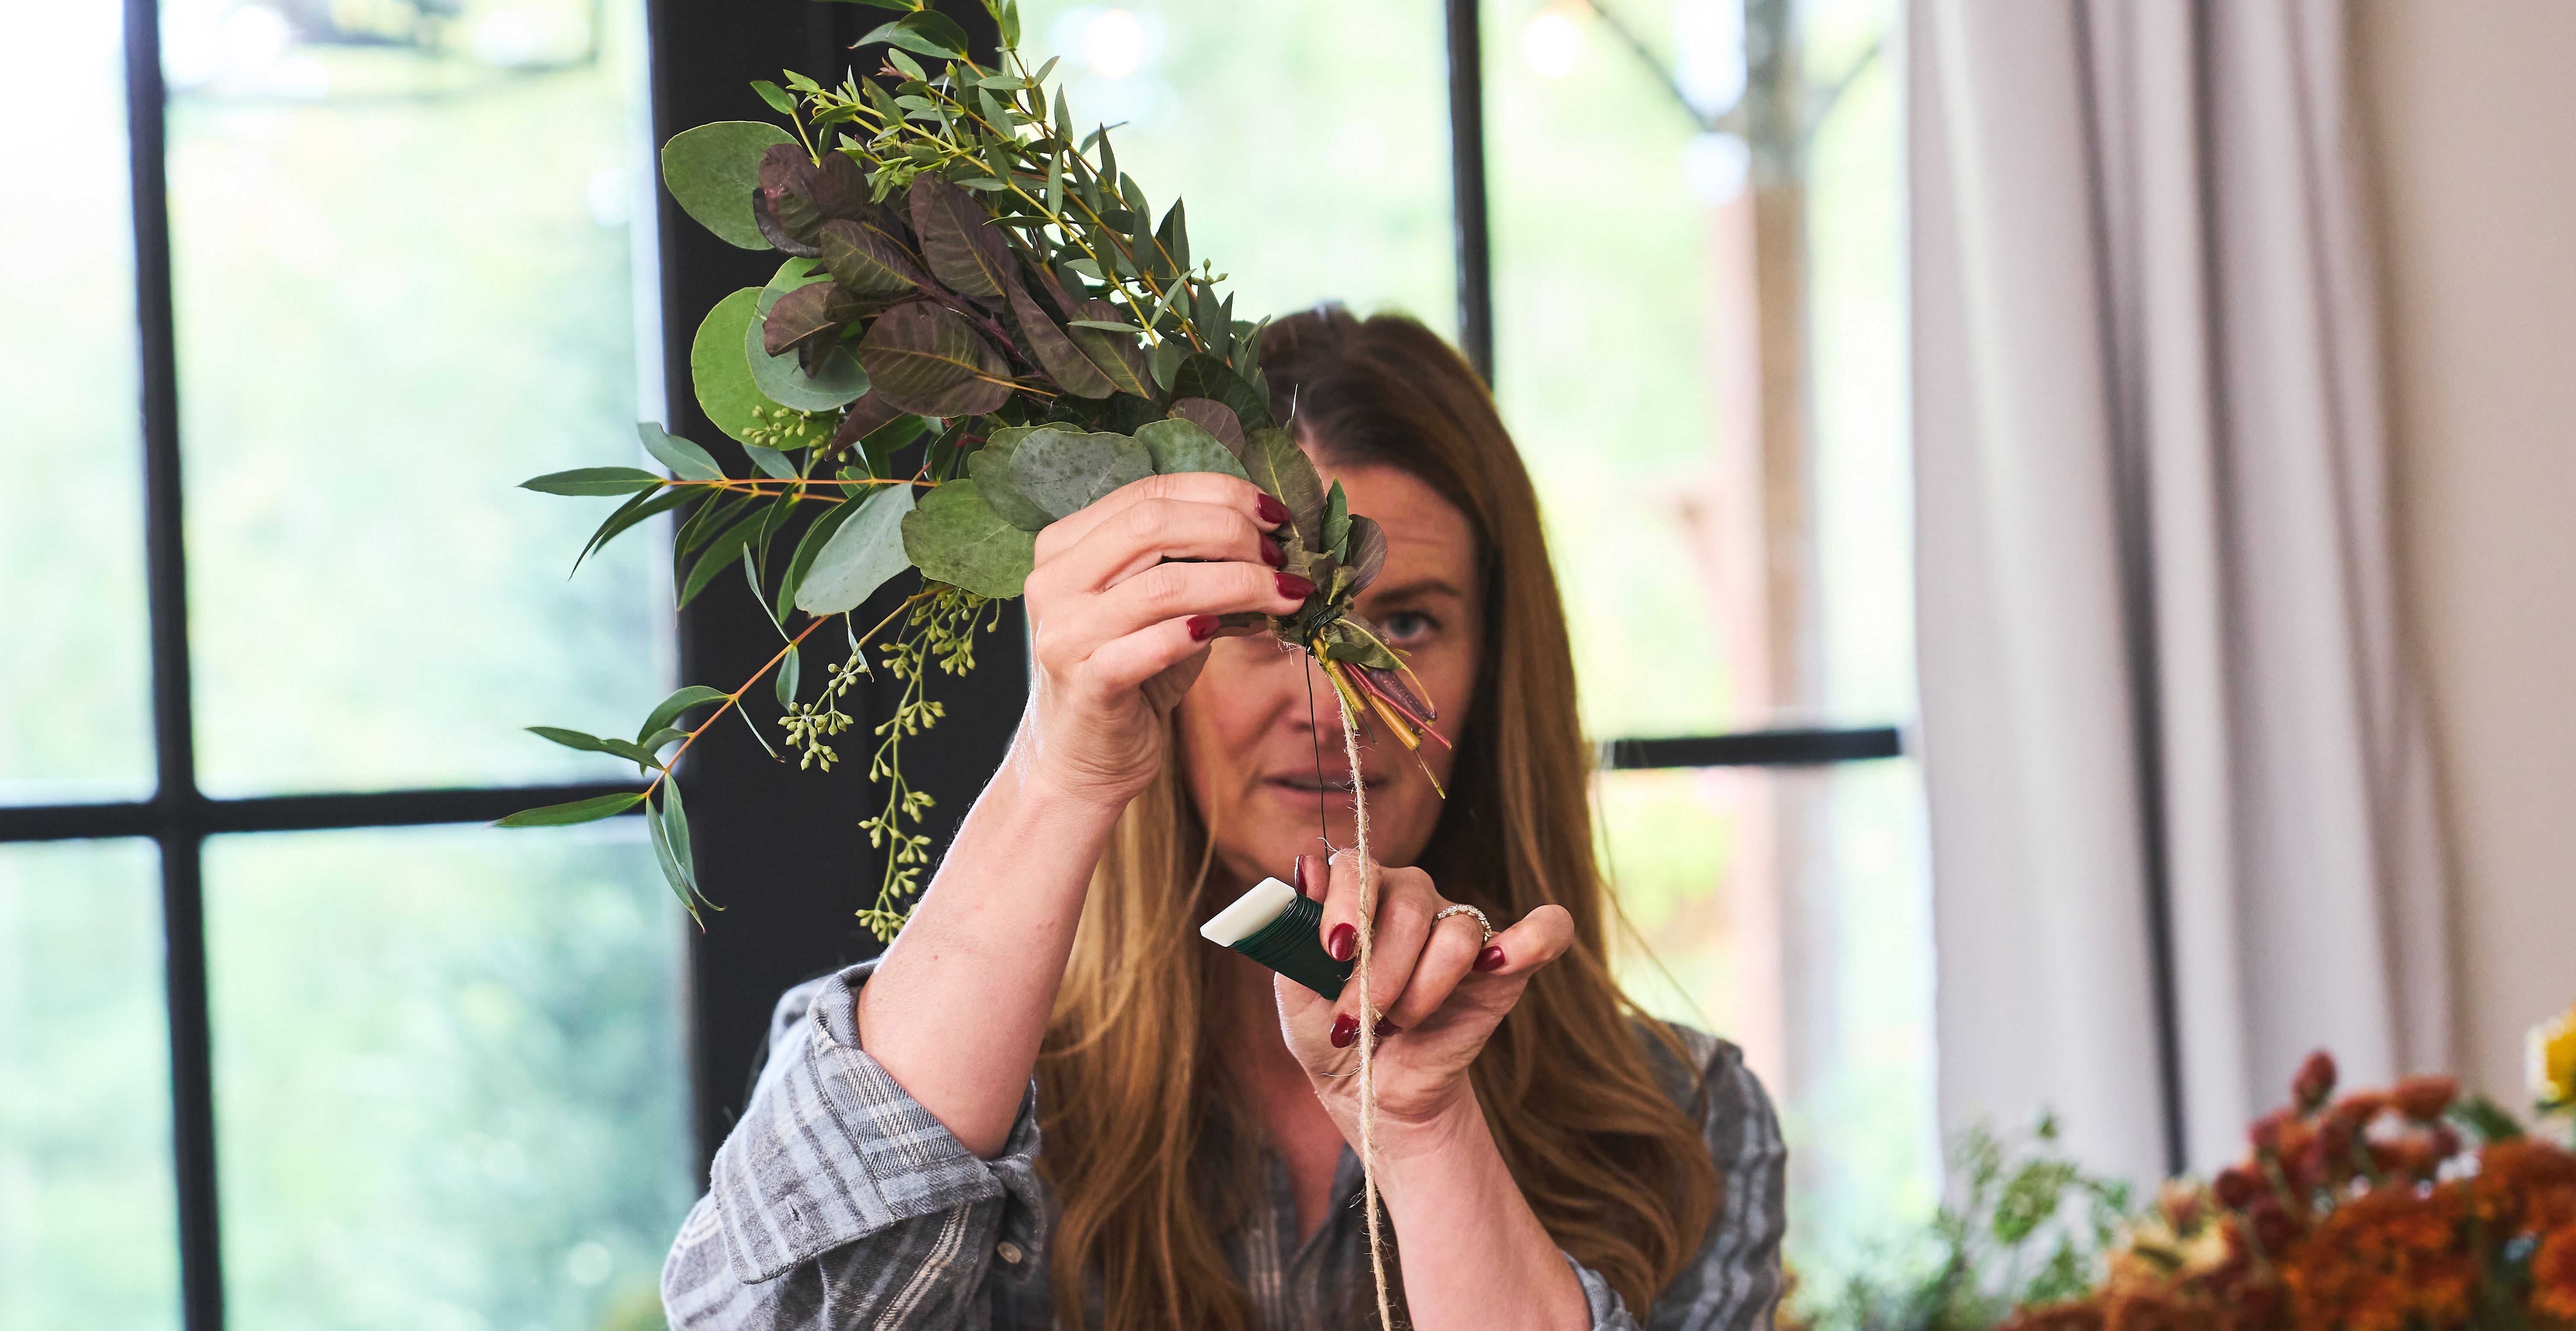
Step 1: Gather your foliage into small bunches of 5–7 stems, staggering and fanning them so the textures play together nicely. Tie with paddle wire and cut it.
Once you have all your bunches of greens ready to go, you'll start placing each bunch either on your wreath frame or along your twine (for the Garland) next!
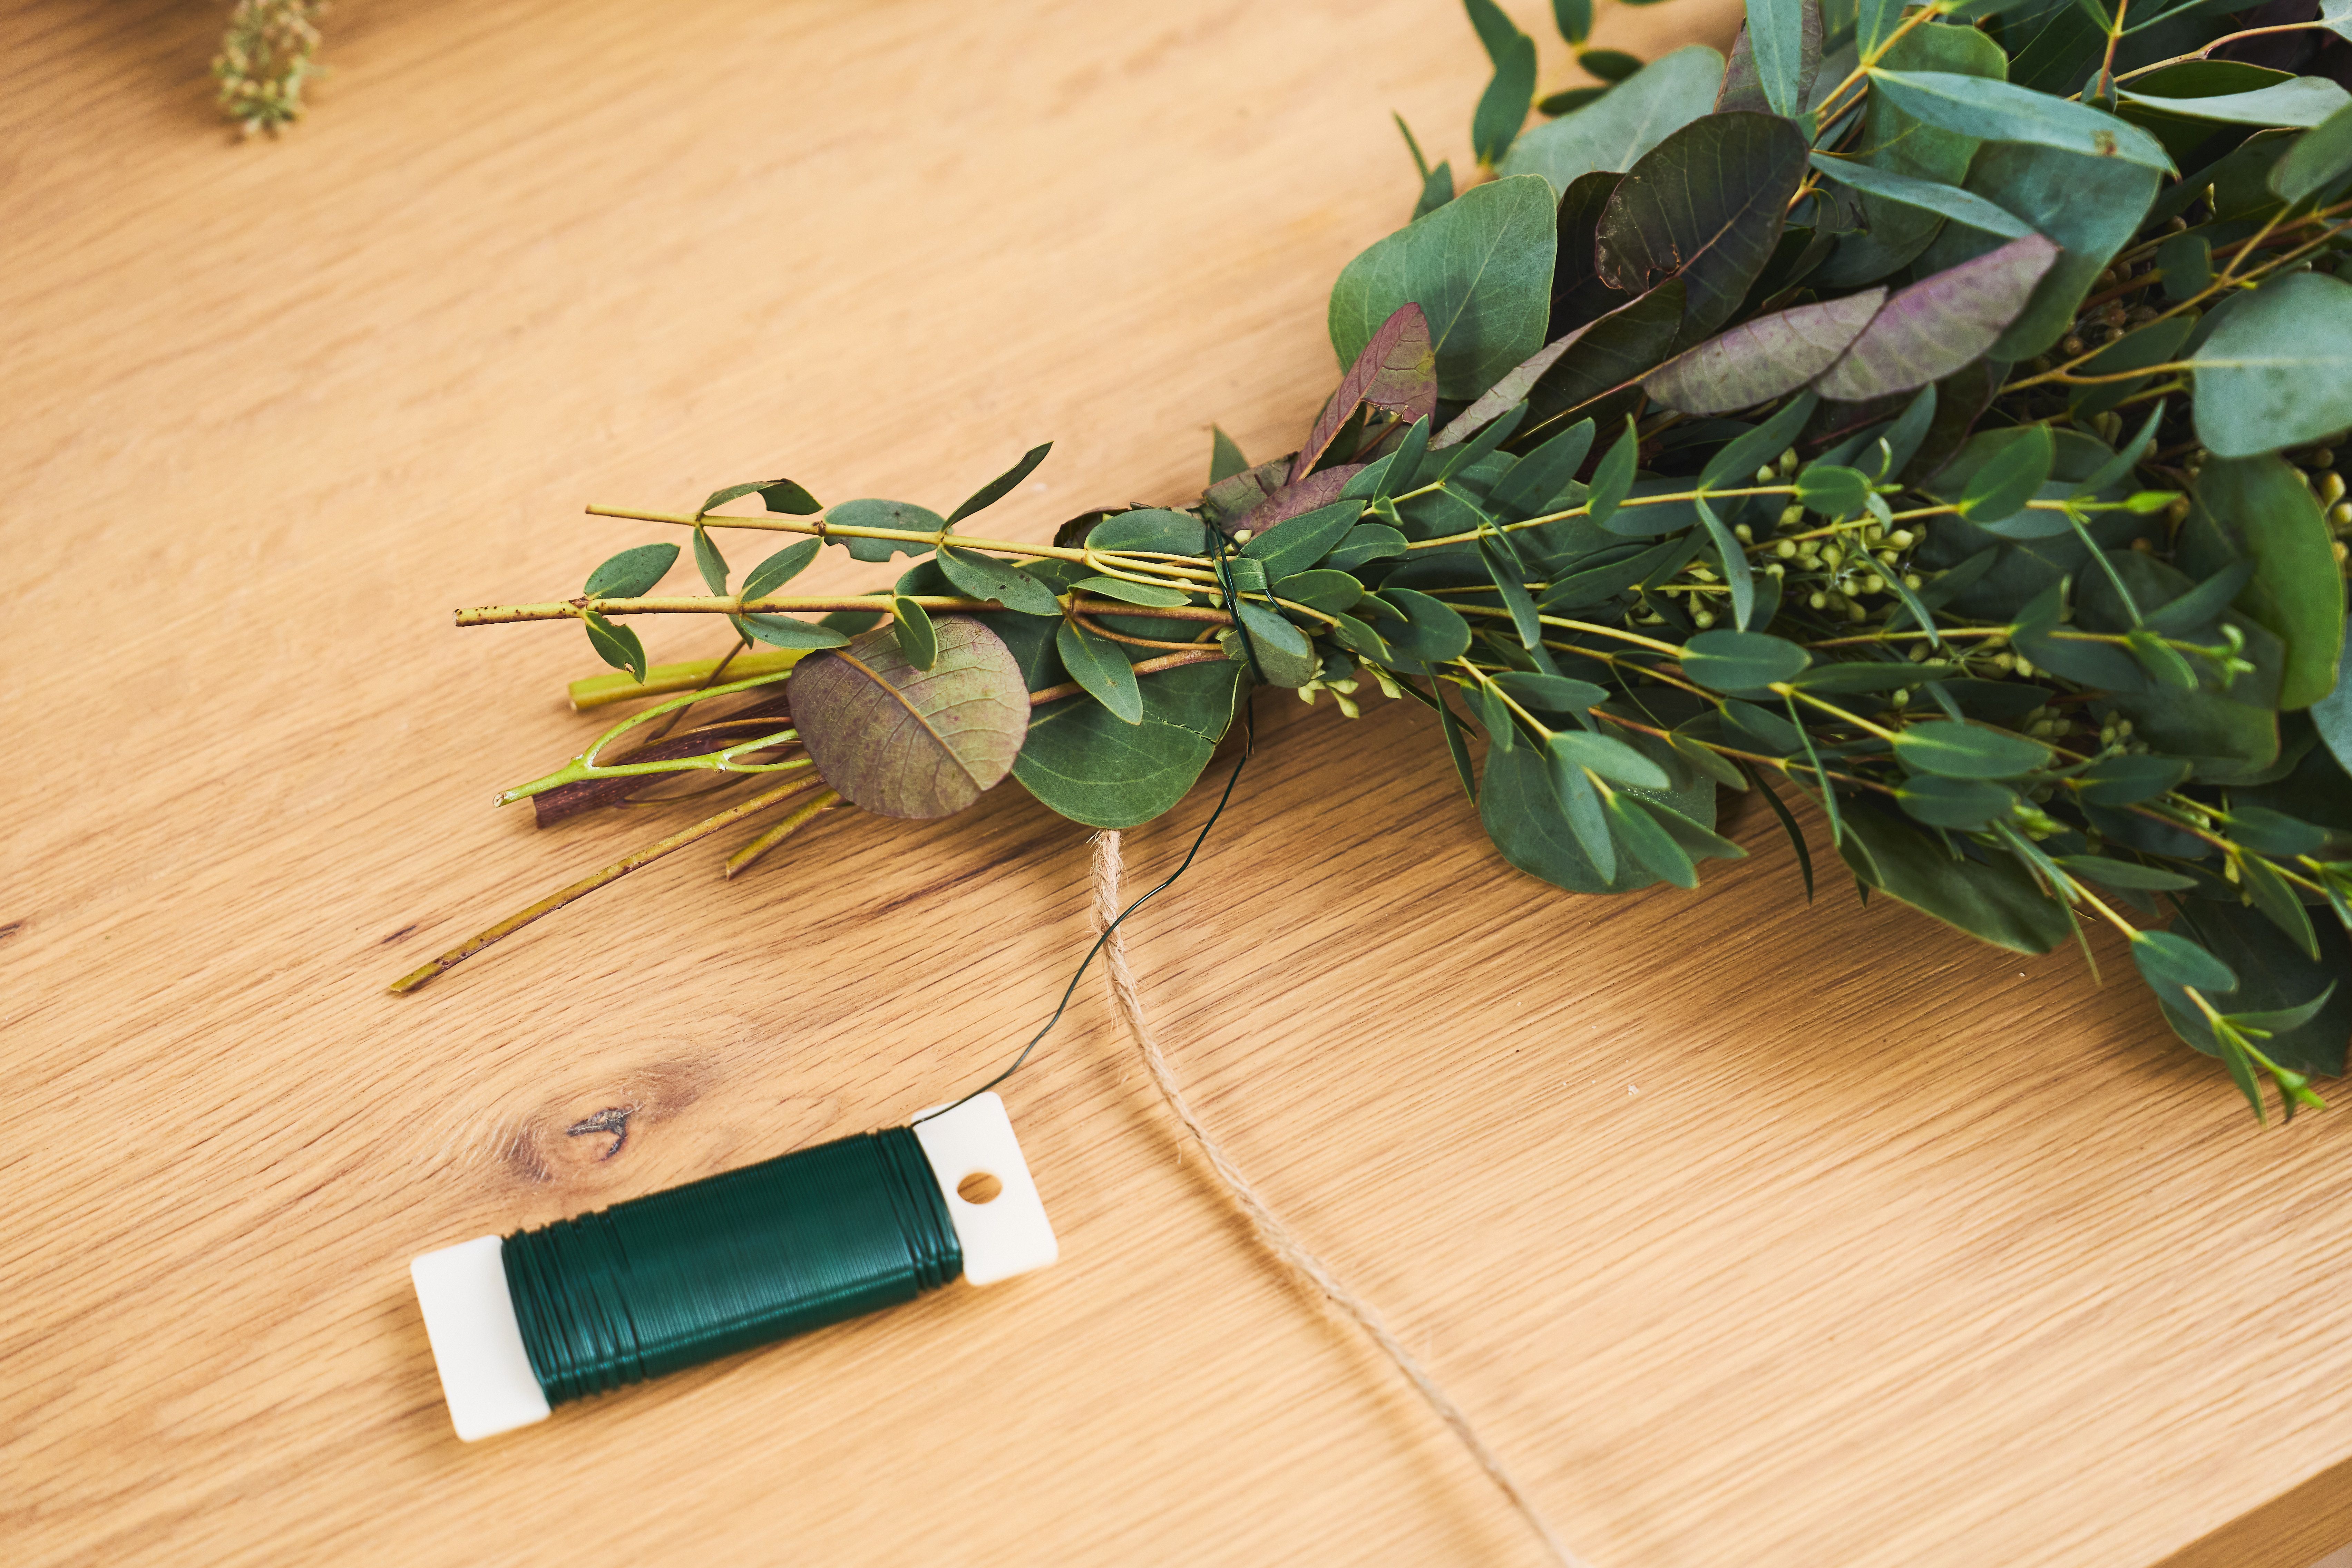
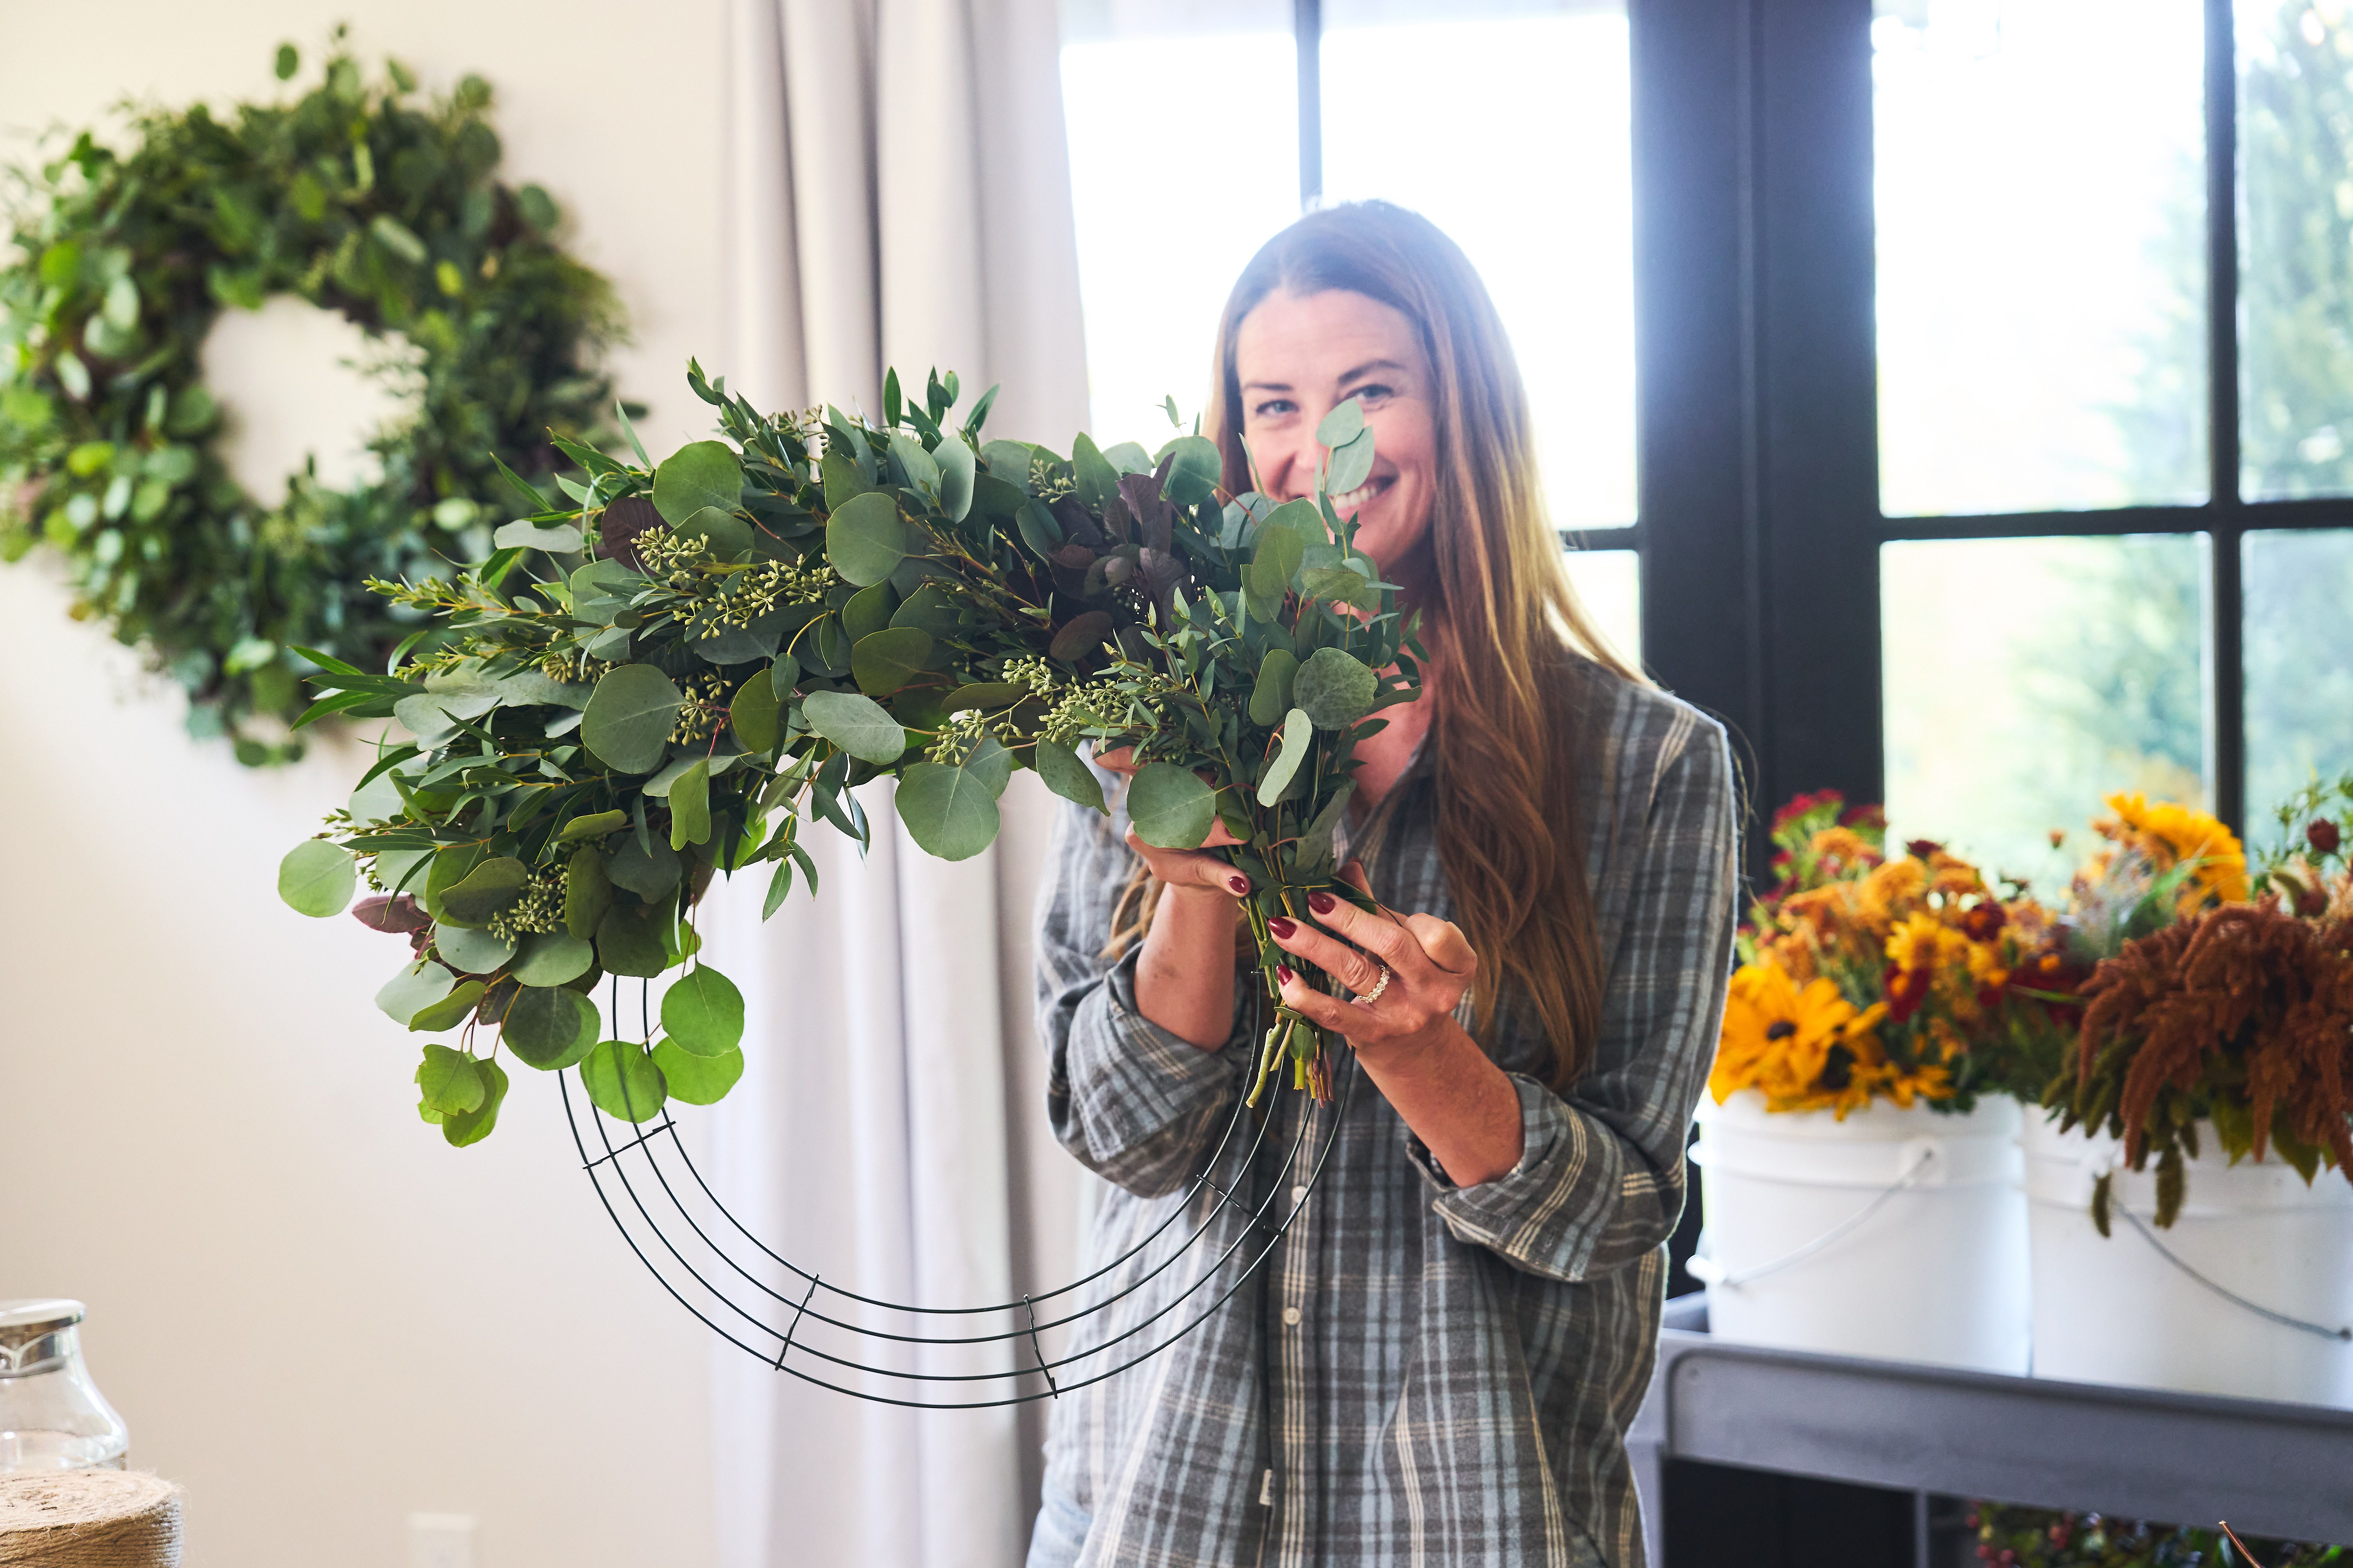
Step 2: Twist & wrap your paddle wire around the base of each bundle to secure it to your wreath frame or twine.
Step 3: Start adding the green bundles and rinse & repeat! - Secure each bunch with paddle wire and continue adding bundles and wrapping with wire until the entire frame or twine is fully covered. For a full, layered look, make sure each bundle is covering the stems of the previous one. You want them to be slightly staggered!
Pro tip: Don't cut the paddle wire until you reach the end. Keeping it continuous helps ensure the structure stays strong and neat.
Garland:

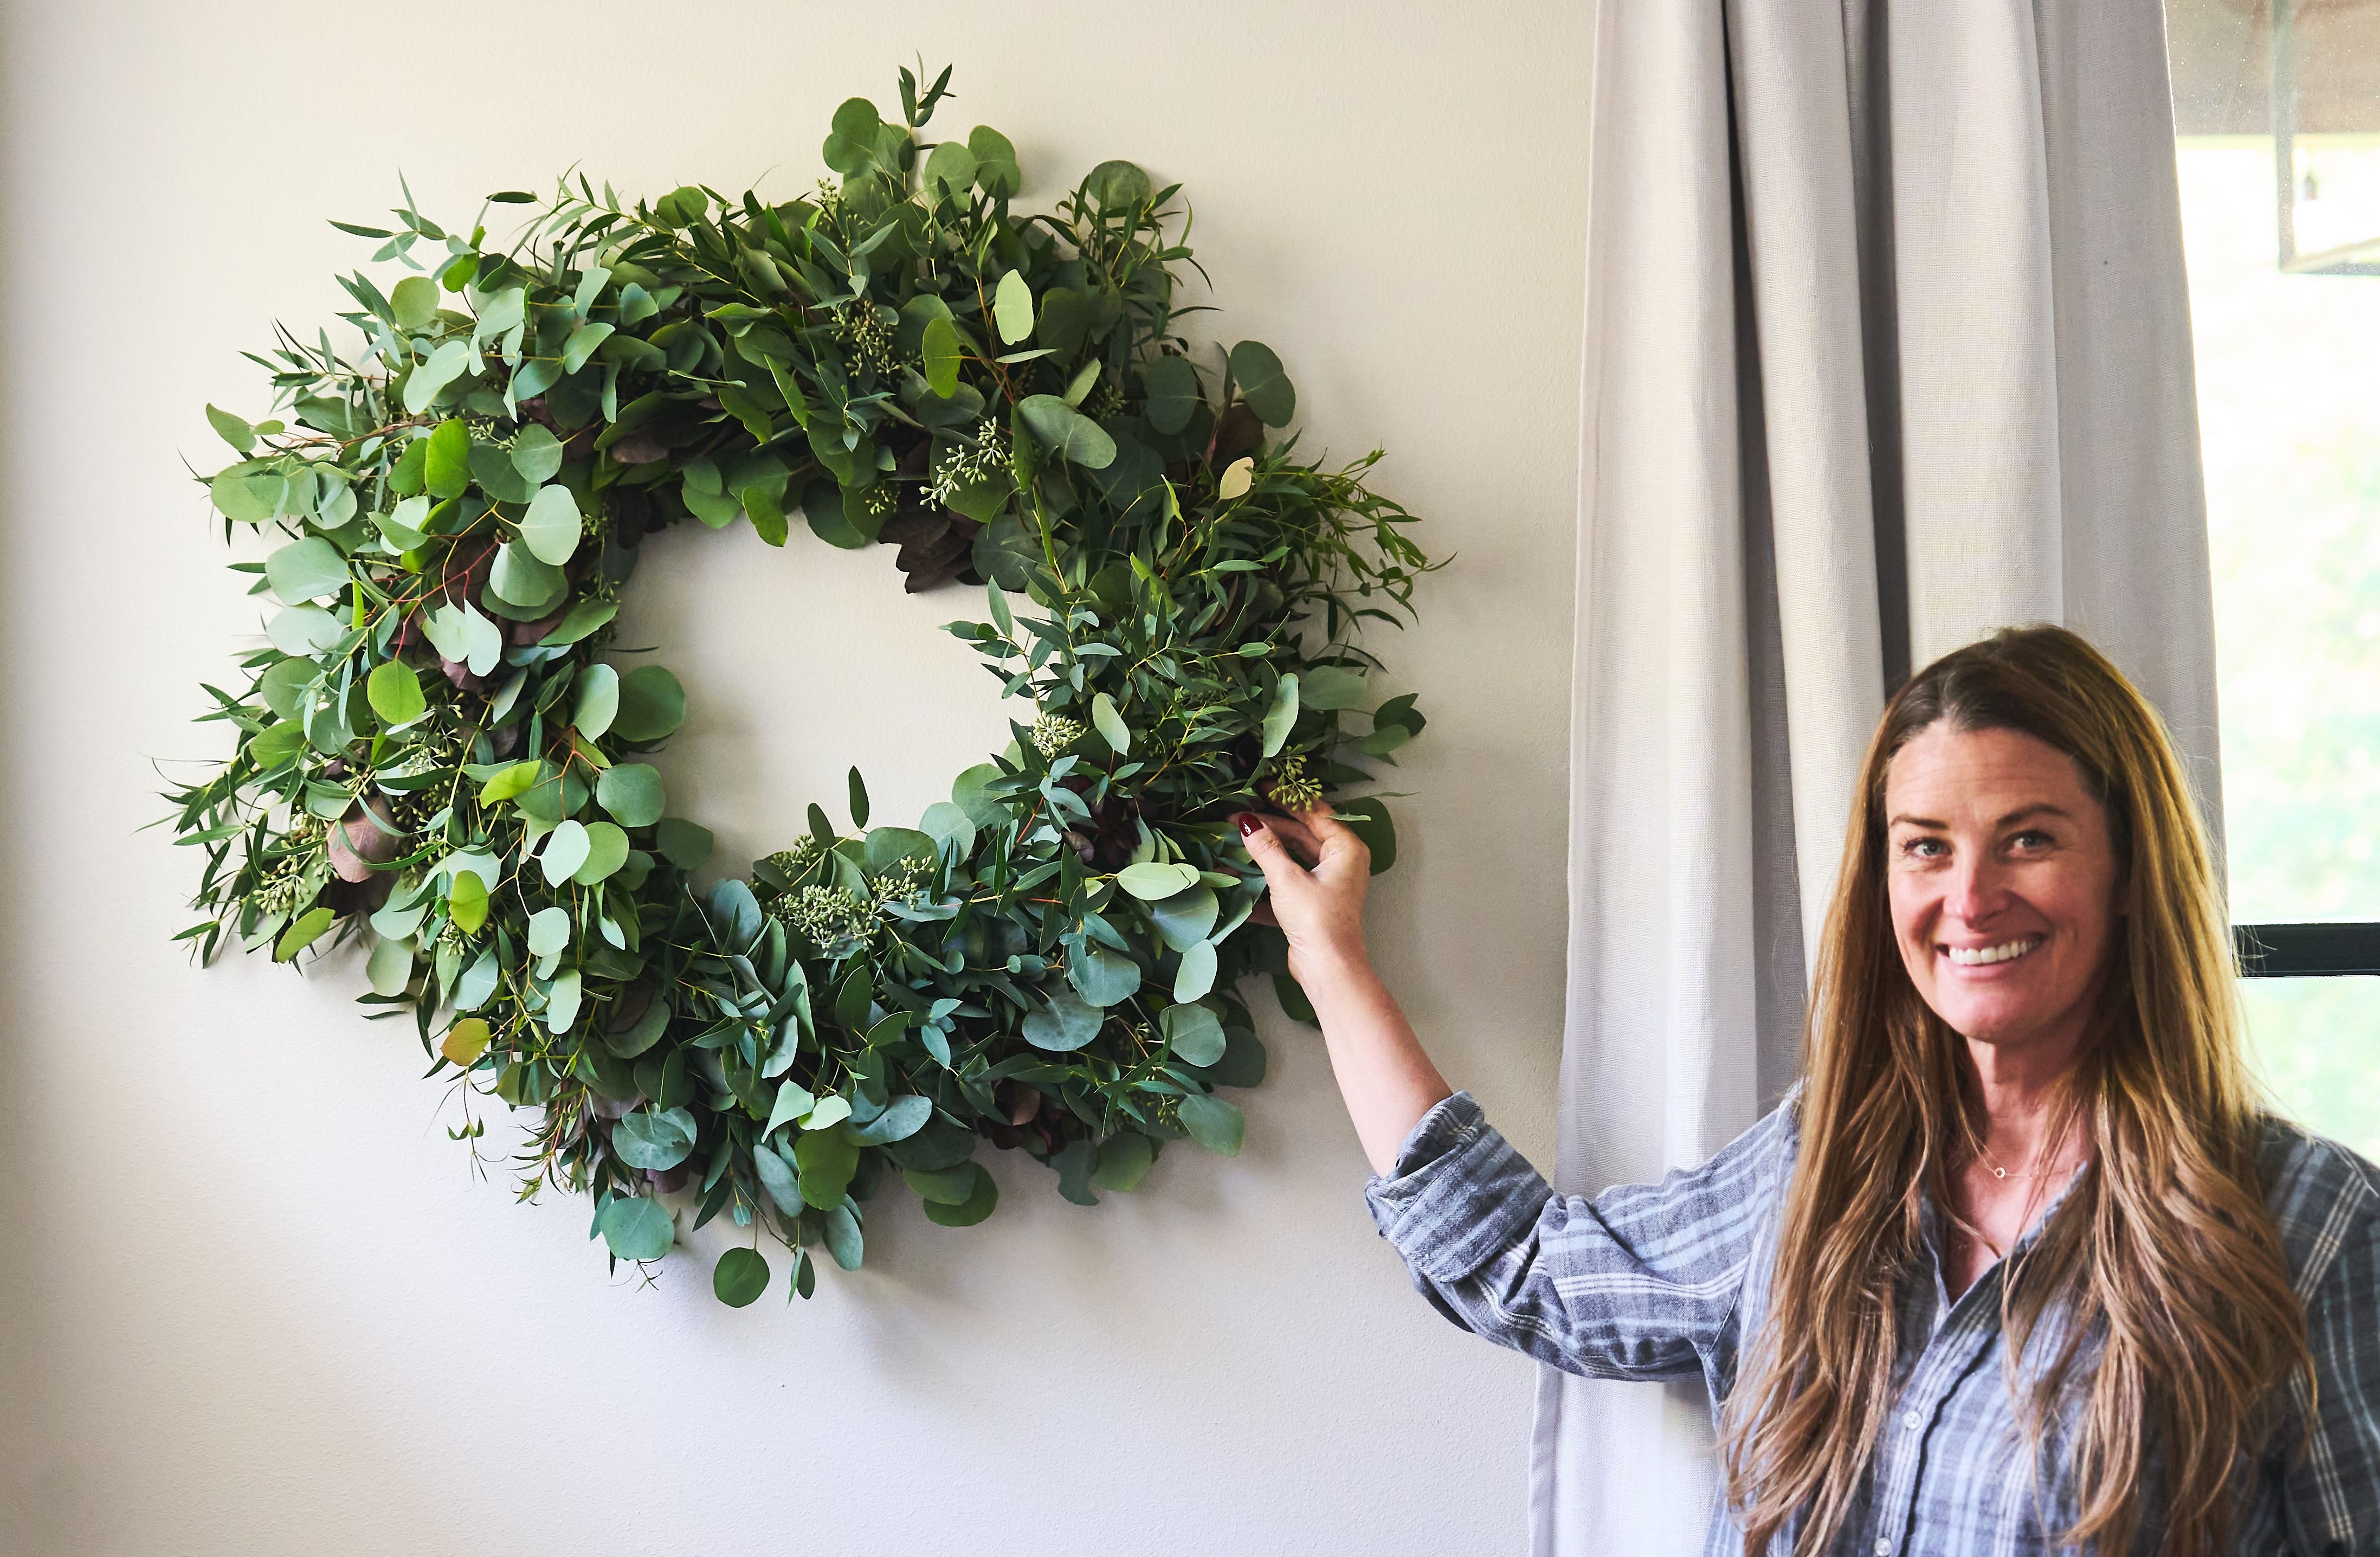
Wreath:
Extra Wreath + Garland Making Tips!
A few small tricks make a big difference:
- Wreath Sizing: A 14–16" wreath base will give you a finished wreath around 22–24" — depending on how lush and full you go.
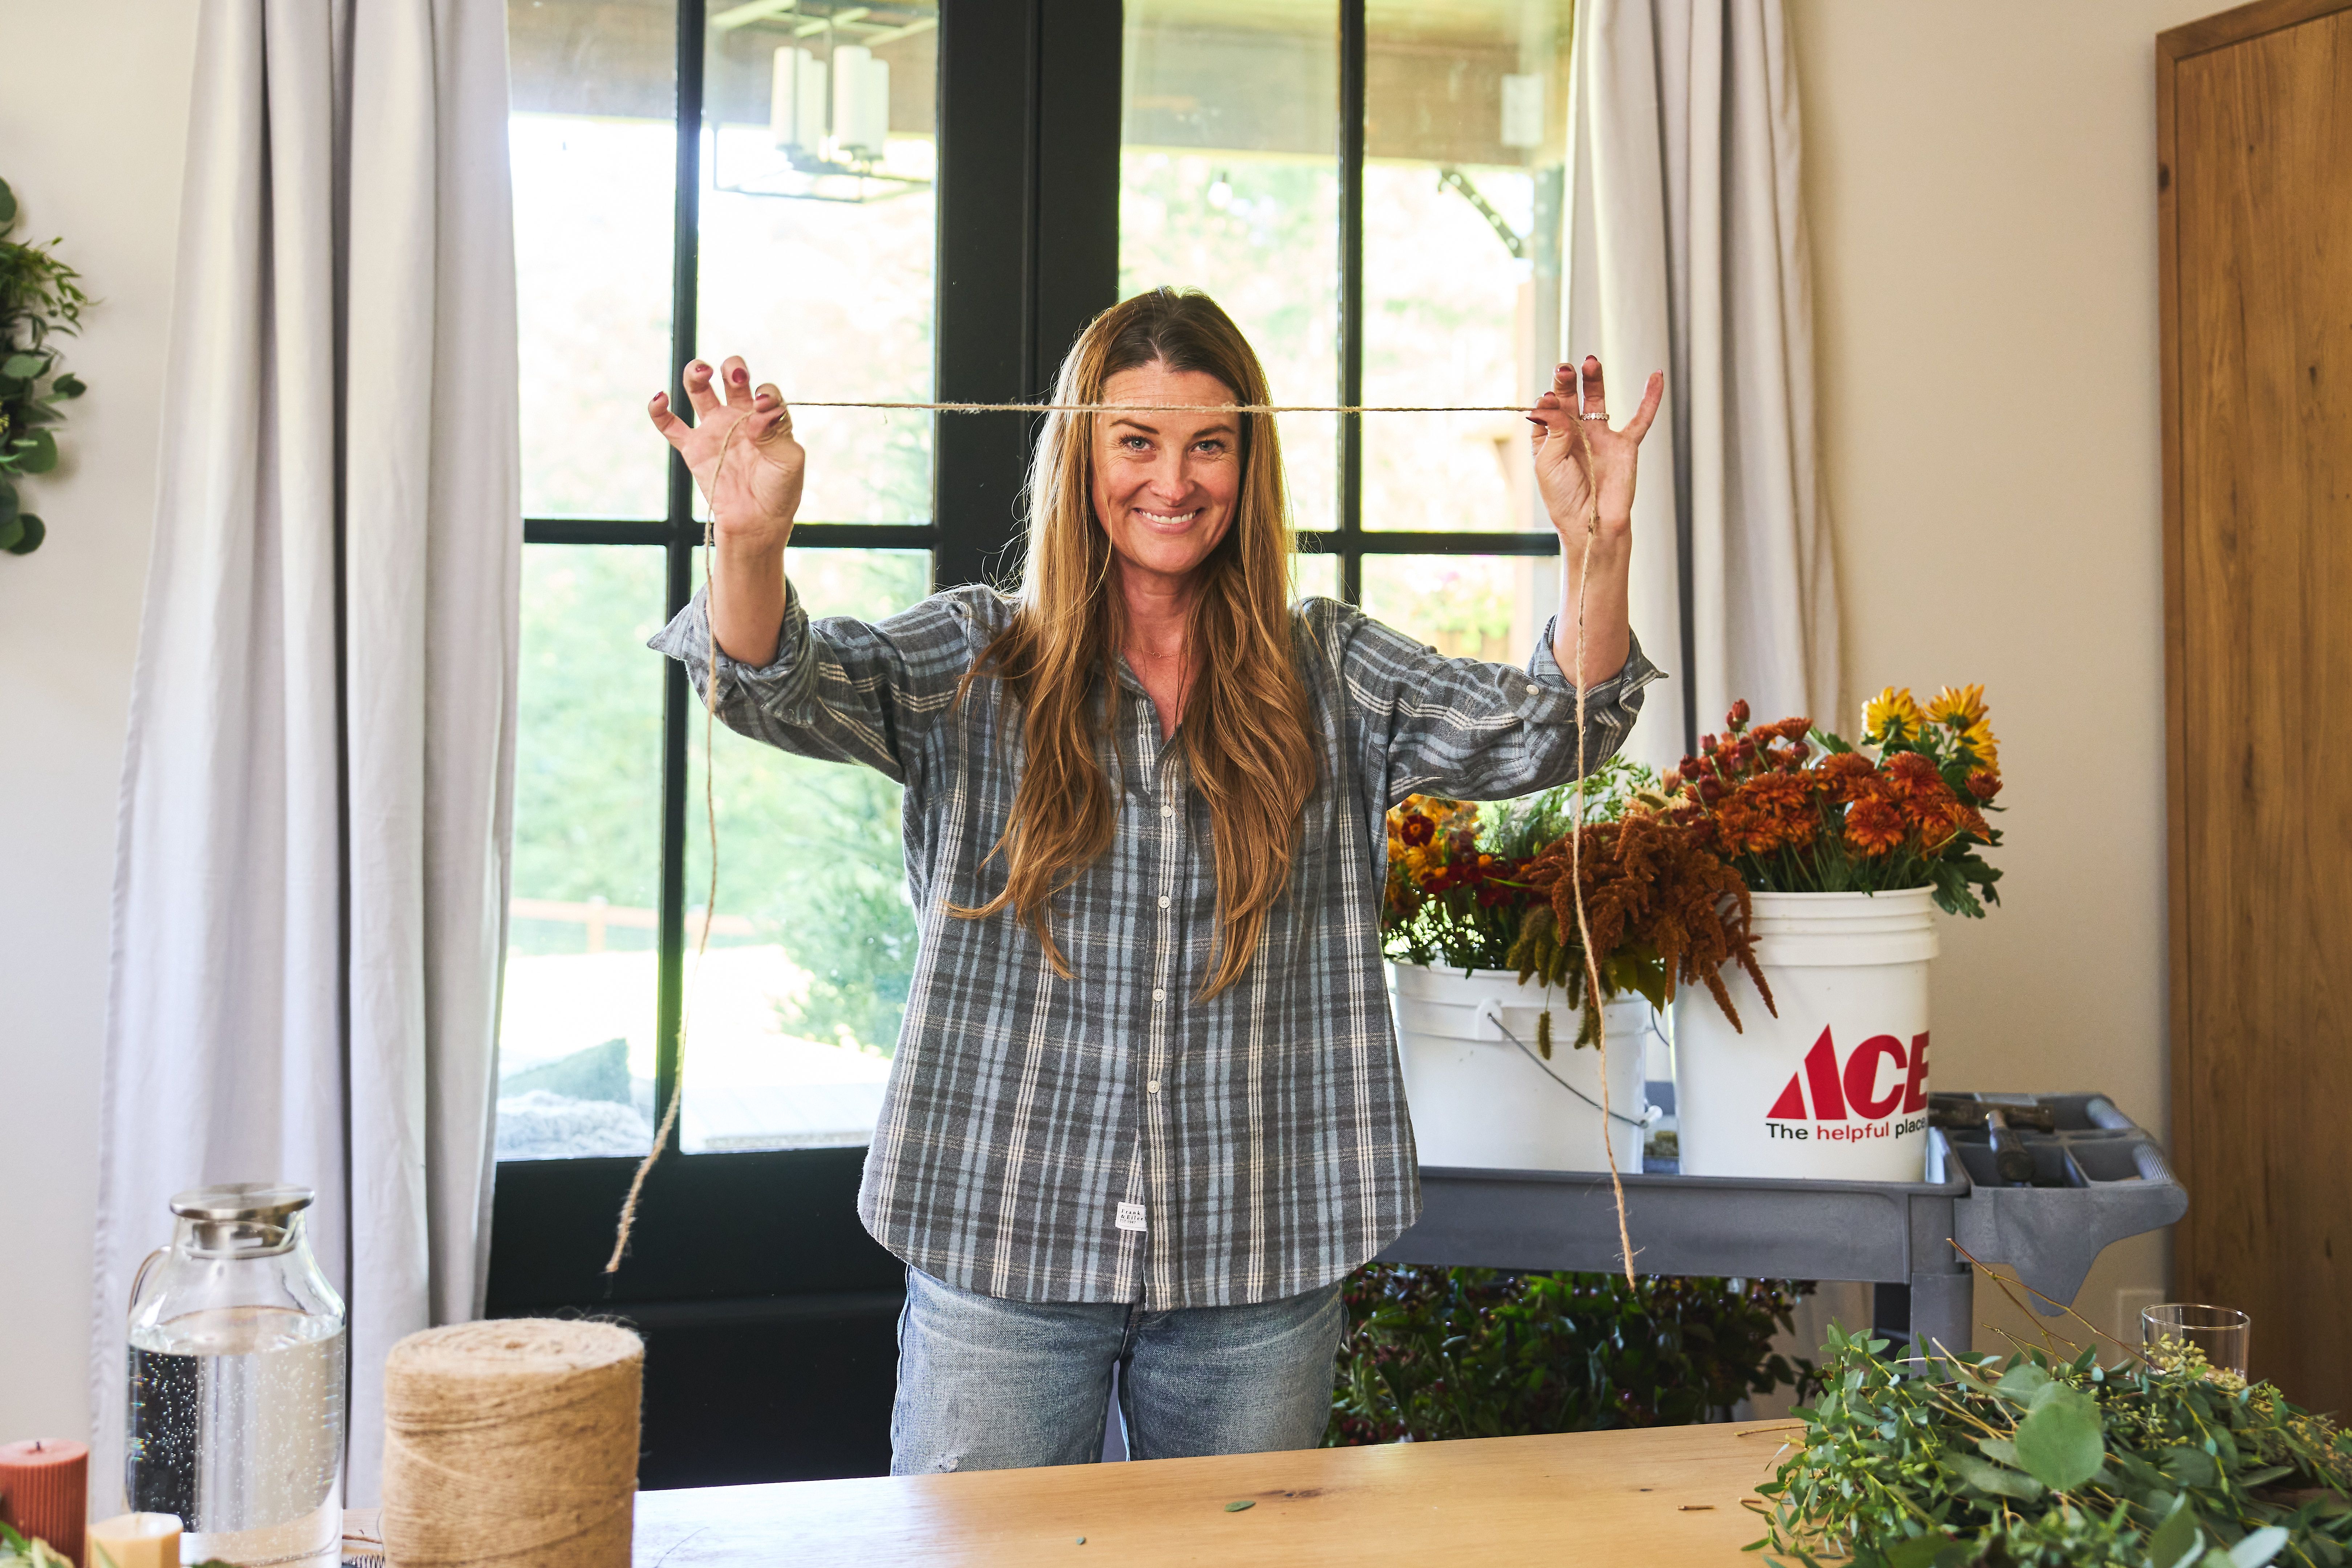
- Cut your twine or ribbon slightly longer than your table: For a 6 ft table, we love using about 8 ft so it cascades nicely off each end.
- Keep your paddle wire continuous on the wreath form, or on the twine (dependin on what you're making) from start to finish.
- Overlap and layer bundles to hide the stems and the wire, but also to add fullness.
- Plan for 40 bundles per wreath or 3–5 bundles per foot of garland. Each bundle should have at least 5–7 sprigs of foliage.
- Let the magic of drying happen: Expect foliage to dry and shift naturally — it’s part of the process.
- Don’t stress symmetry: a simple ribbon fixes most quirks.

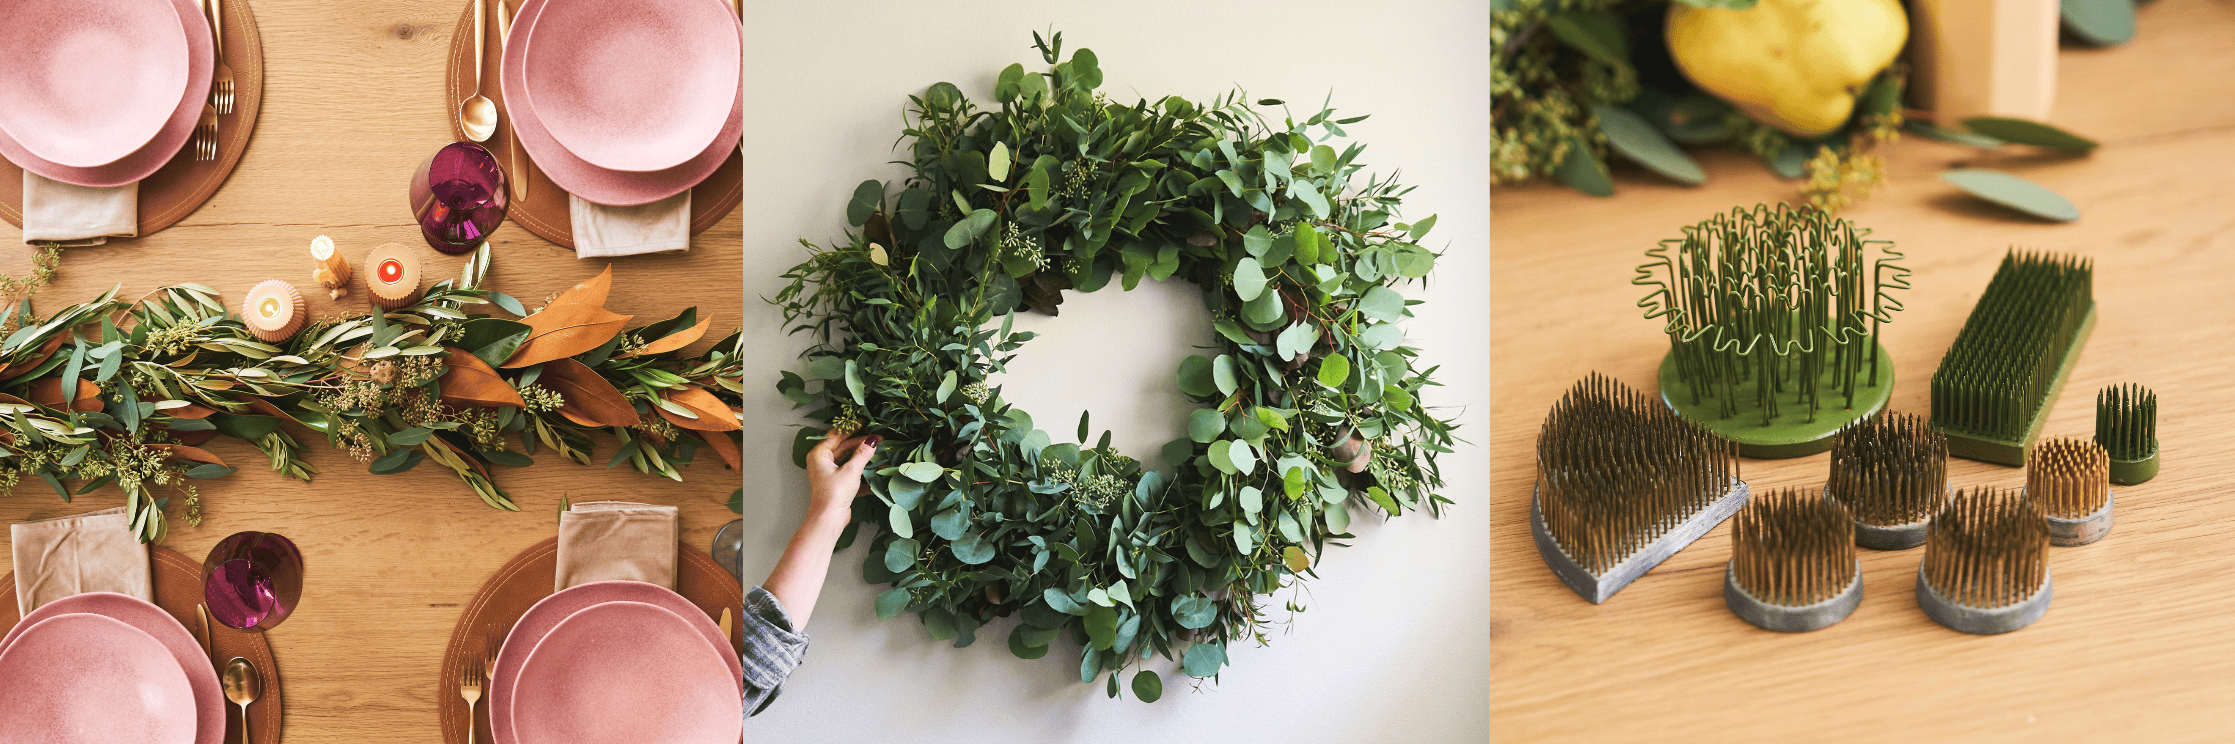
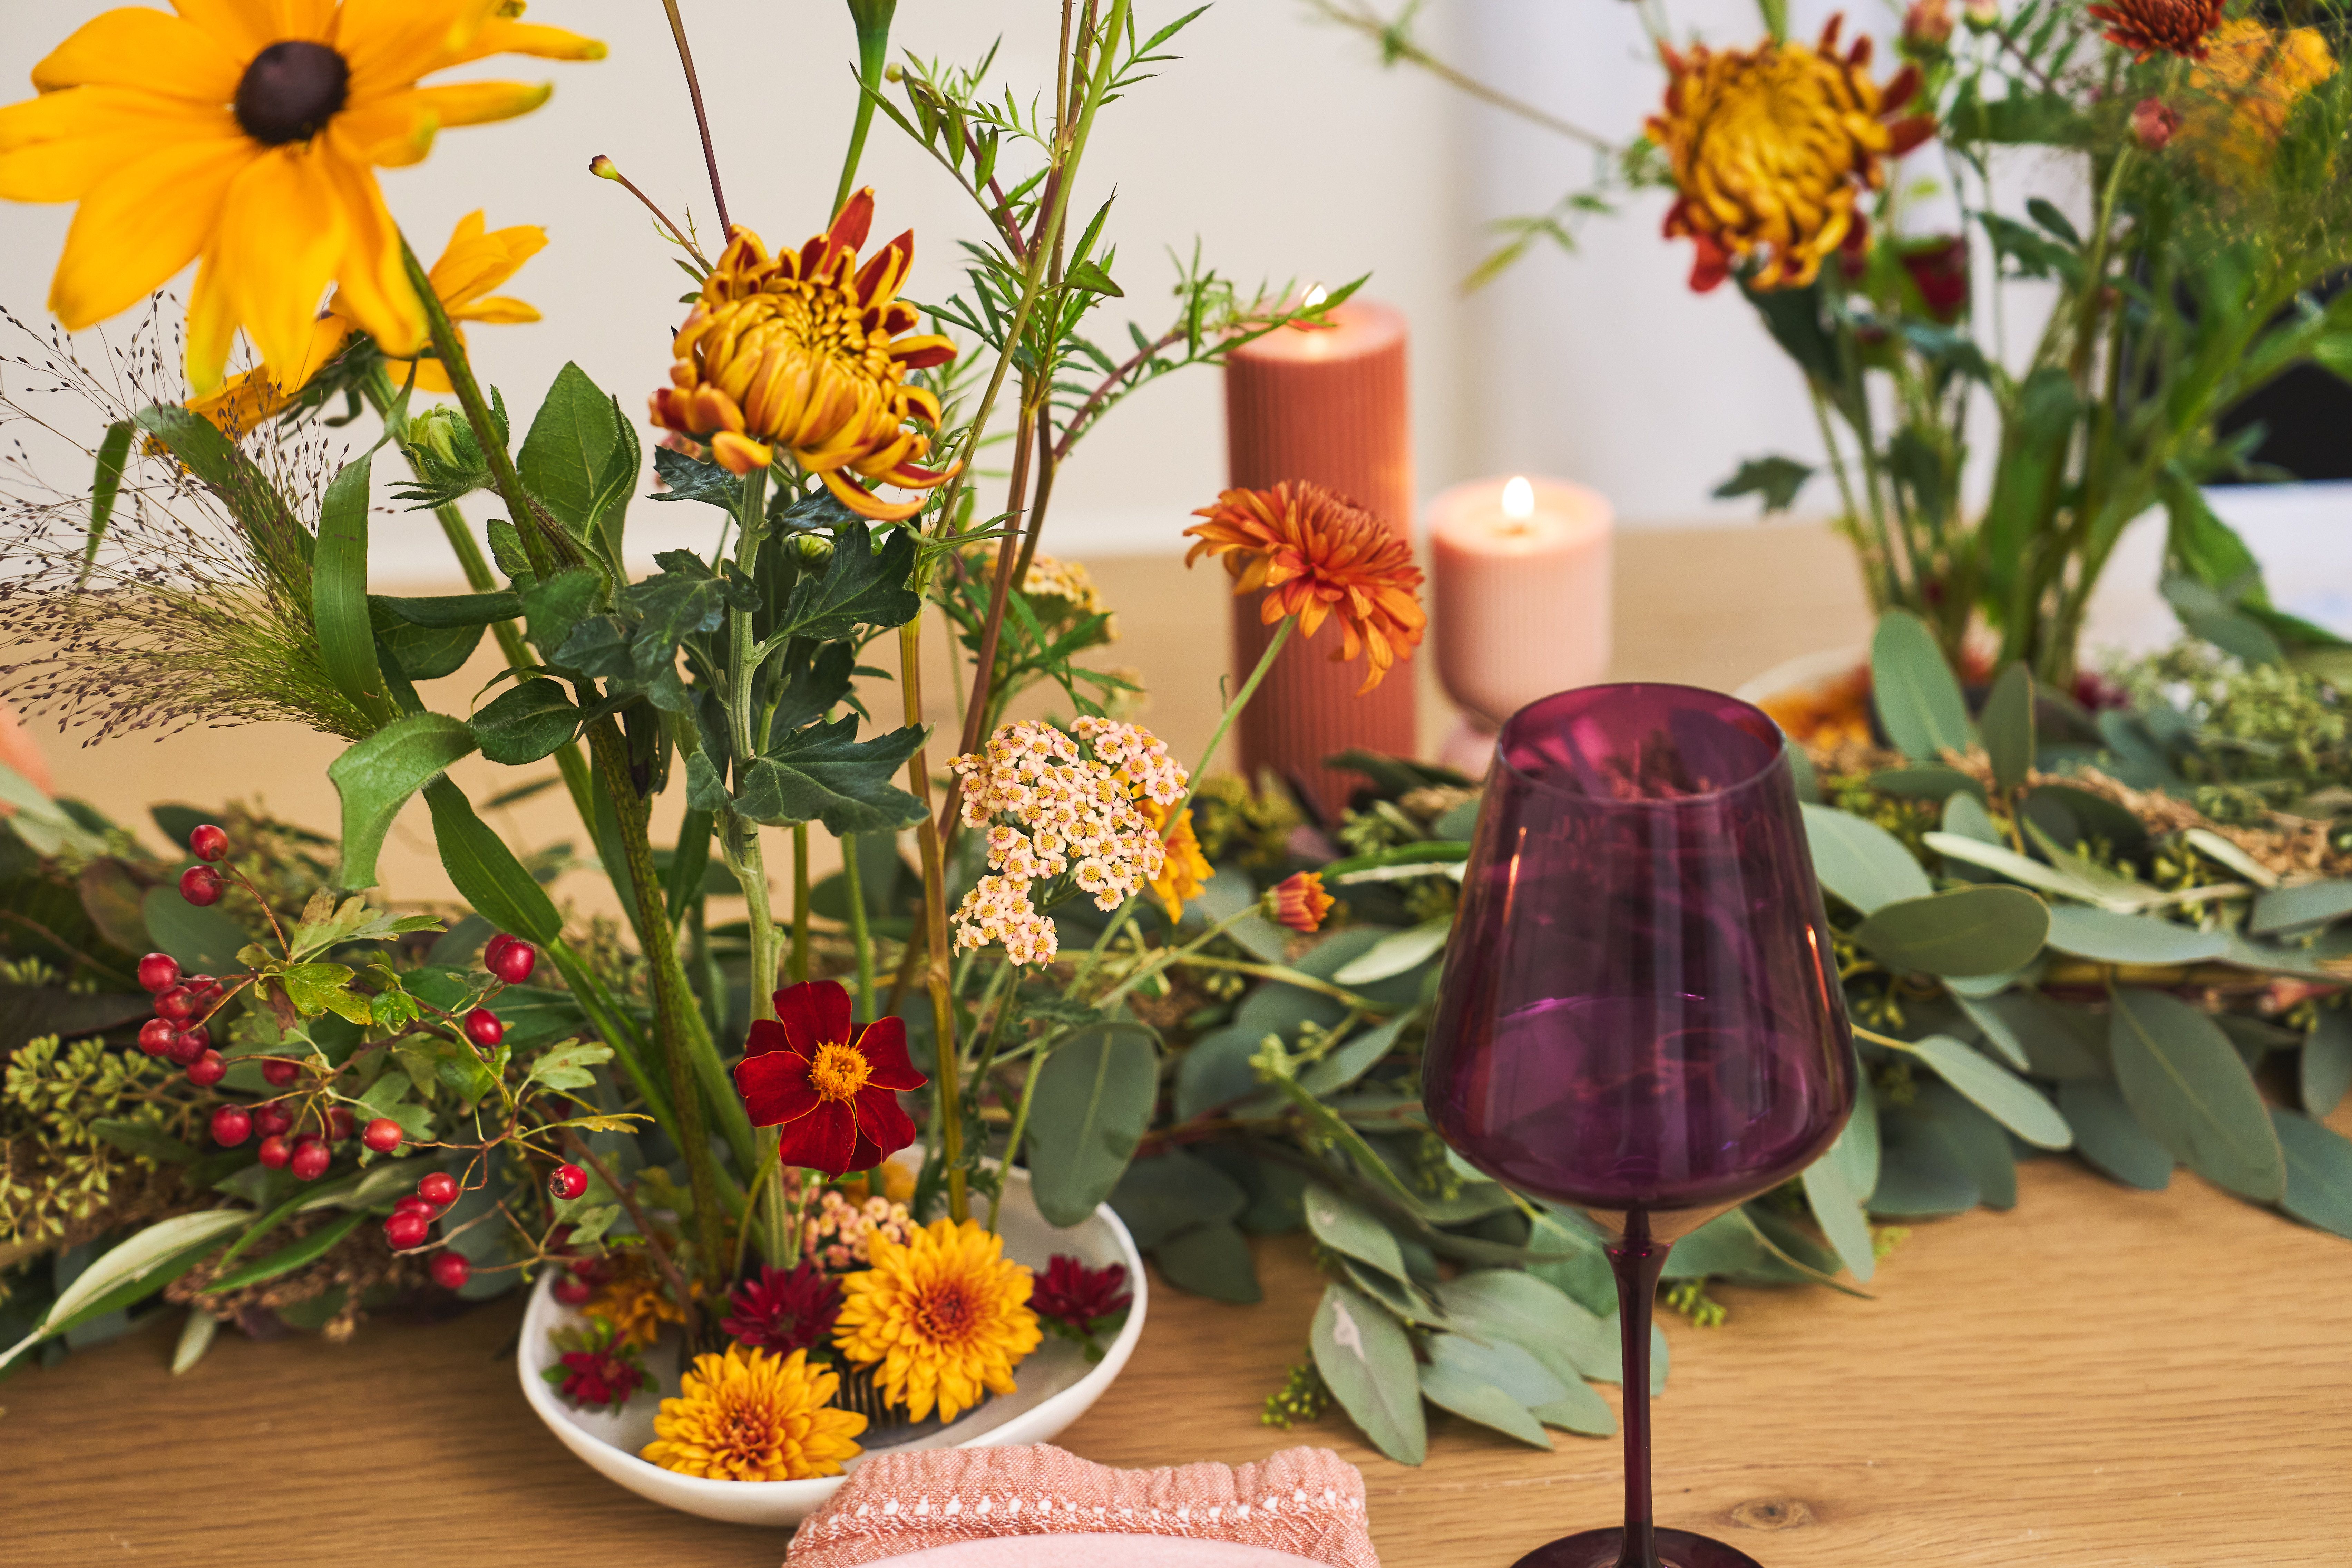
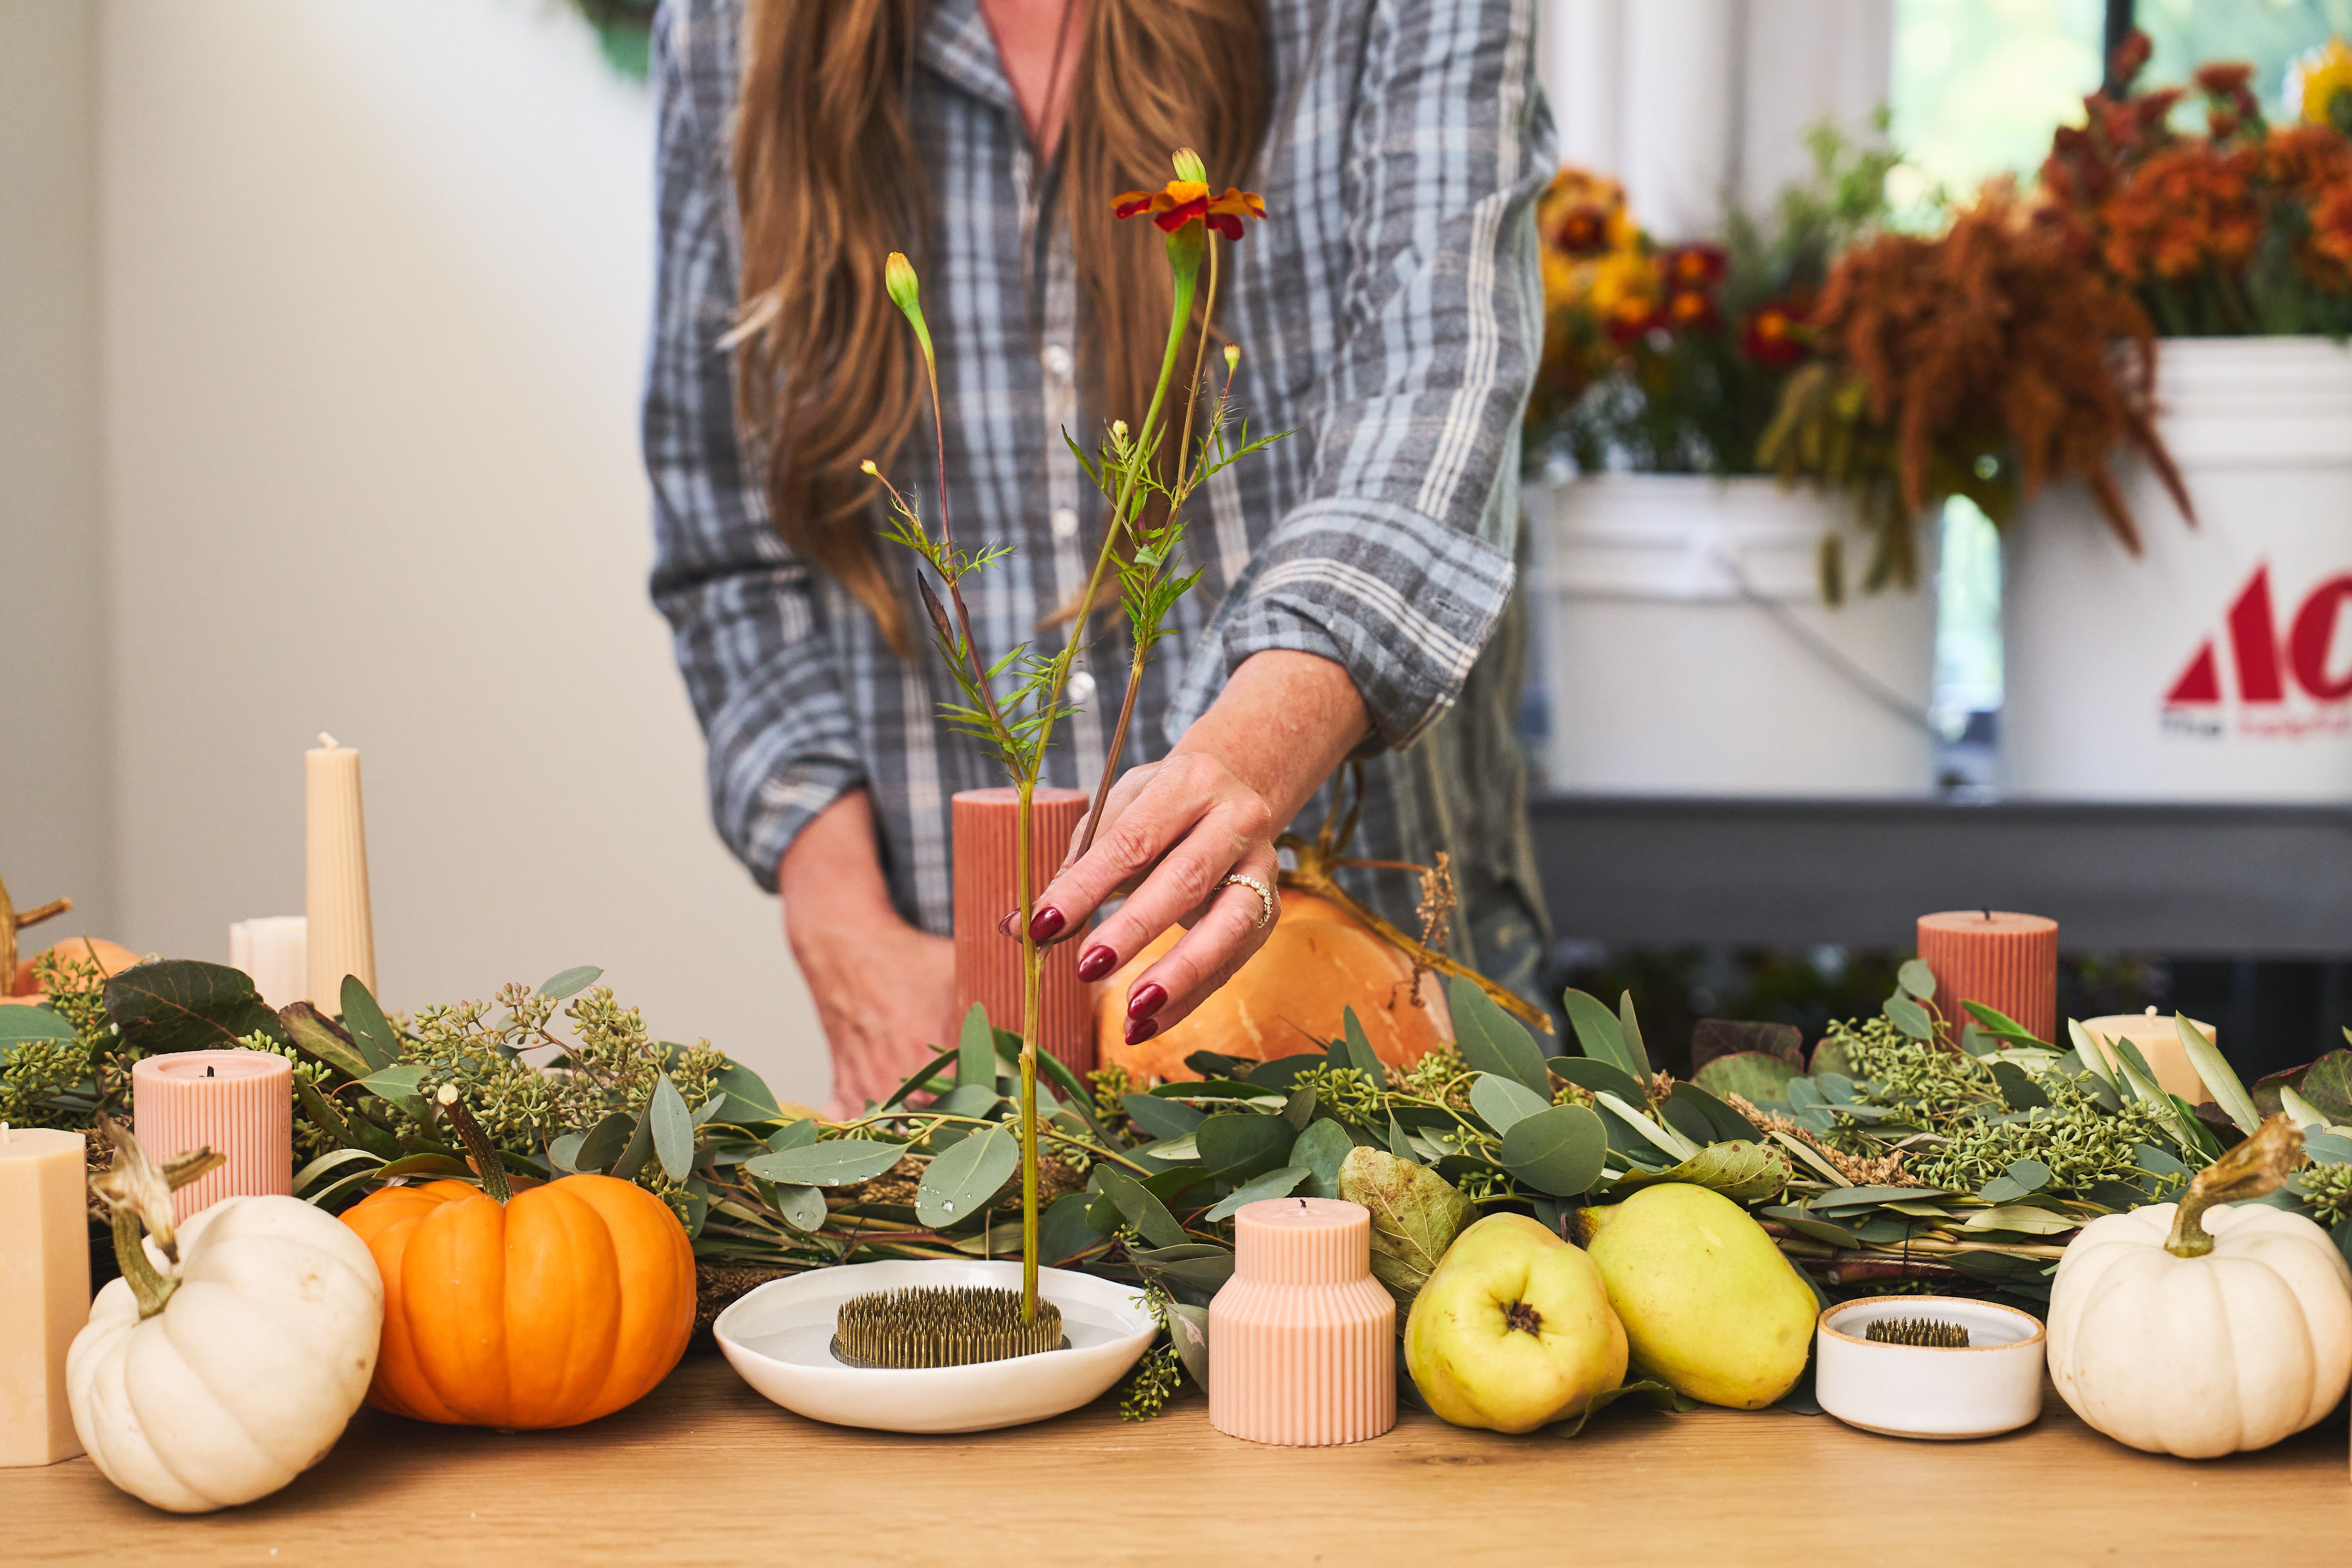
Designing with Flower Frogs
Flower frogs let a few stems stand like a stunning centerpiece. Place a few frogged arrangements on your table, pair them with your fresh foliage garland & seasonal accents for a beautiful, budget-friendly tablescape.
Sourcing & Prep
Step 1: Gather Your Flowers and Gear
What you'll need:
- Flower frogs - we like a mix of sizes and shapes! They're super cheap and you can find them at your local craft or flower supply store! Even thrift stores or stucked away in your grandma’s cupboard
- Vessels: Select a mix of snack bowls, or small plates with some deepness to them. Make sure they can fit the flower frog and some water to keep your flowers alive!
- Flowers: Select a mix of seasonal fall flowers. Mums, marigolds, and carnations are all lovely, but anything seasonal works.
Pro tip: Use 4–8 stems per vessel and one vessel for every 2 feet of table.
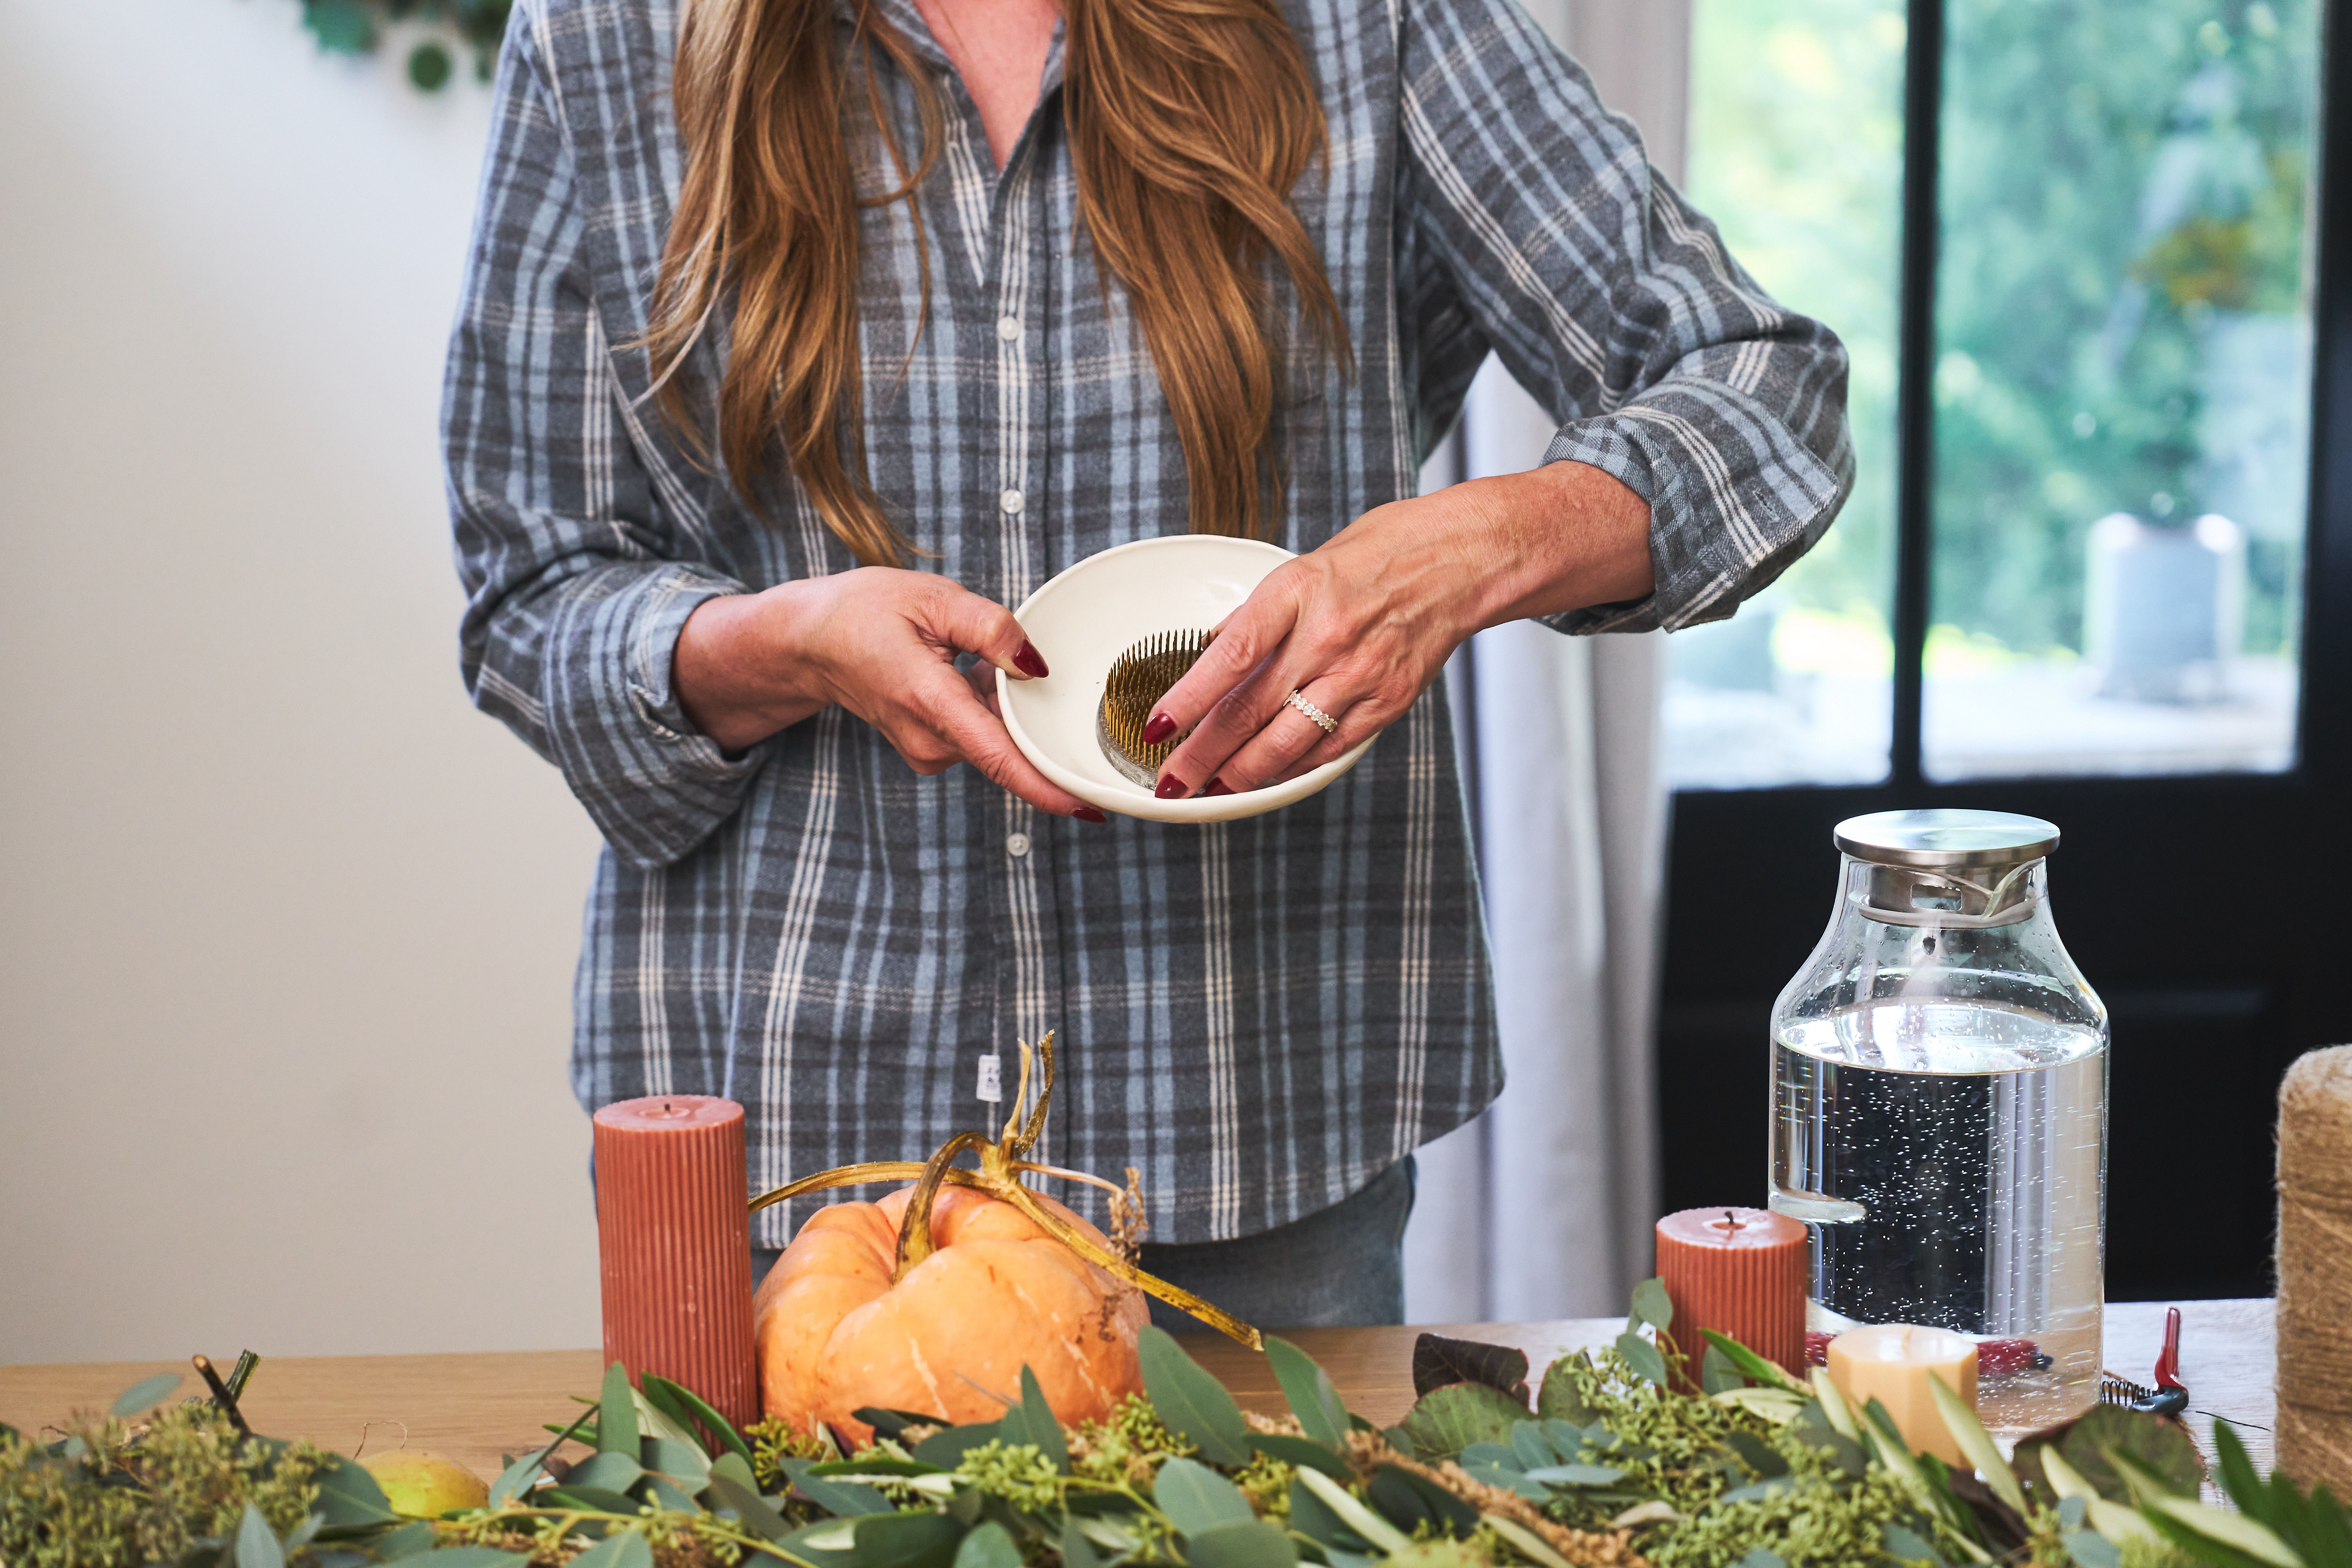
Step 2: Match Each Frog to a Vessel
Pick a vessel that suits your frog and ensure it’s deep enough to submerge the frog halfway in water. We love low, shallow options such as snack plates, pasta bowls, or ramekins.
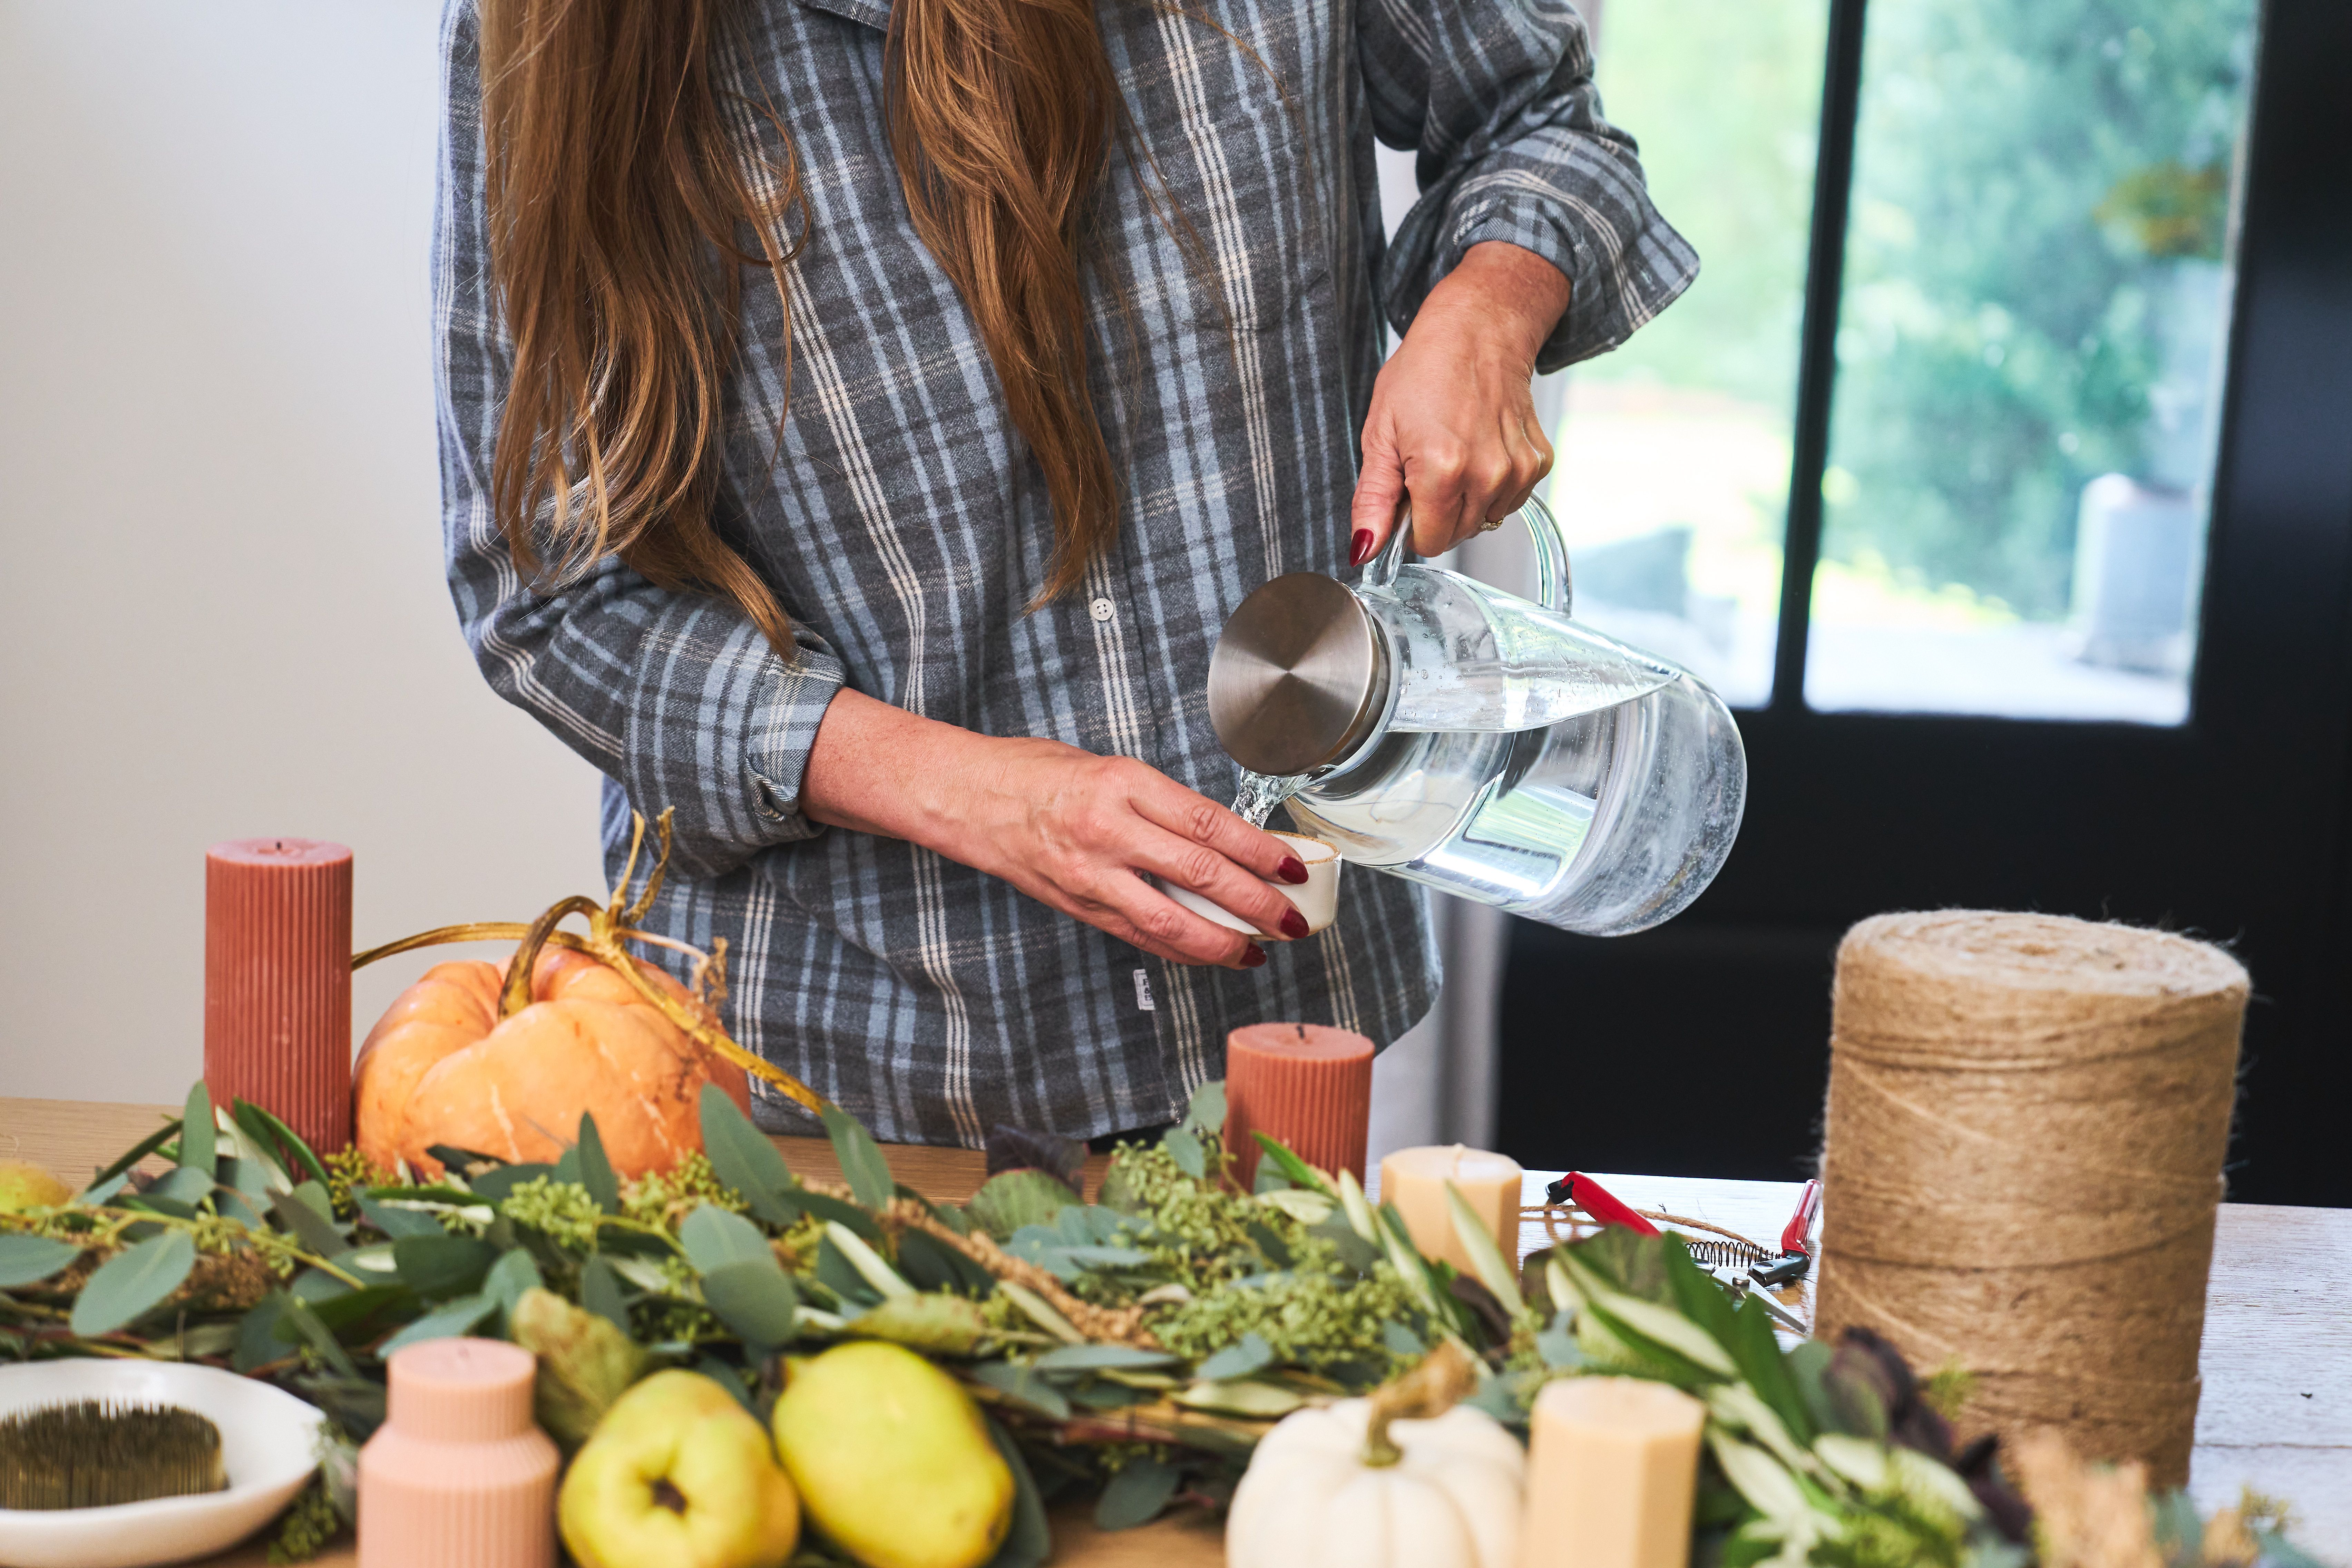
Step 3: Add Your Frog and Water
Place the frog in the vessel and fill with water until it’s submerged about halfway.
Step 4: Cut Your Stems and Place Your Flowers
Cut each stem straight across and at varying lengths, then place the flowers onto the frog.
Pro tip: For that effortlessly layered look, cut each stem to a different length. This will make your arrangement look more elegantly designed and full.
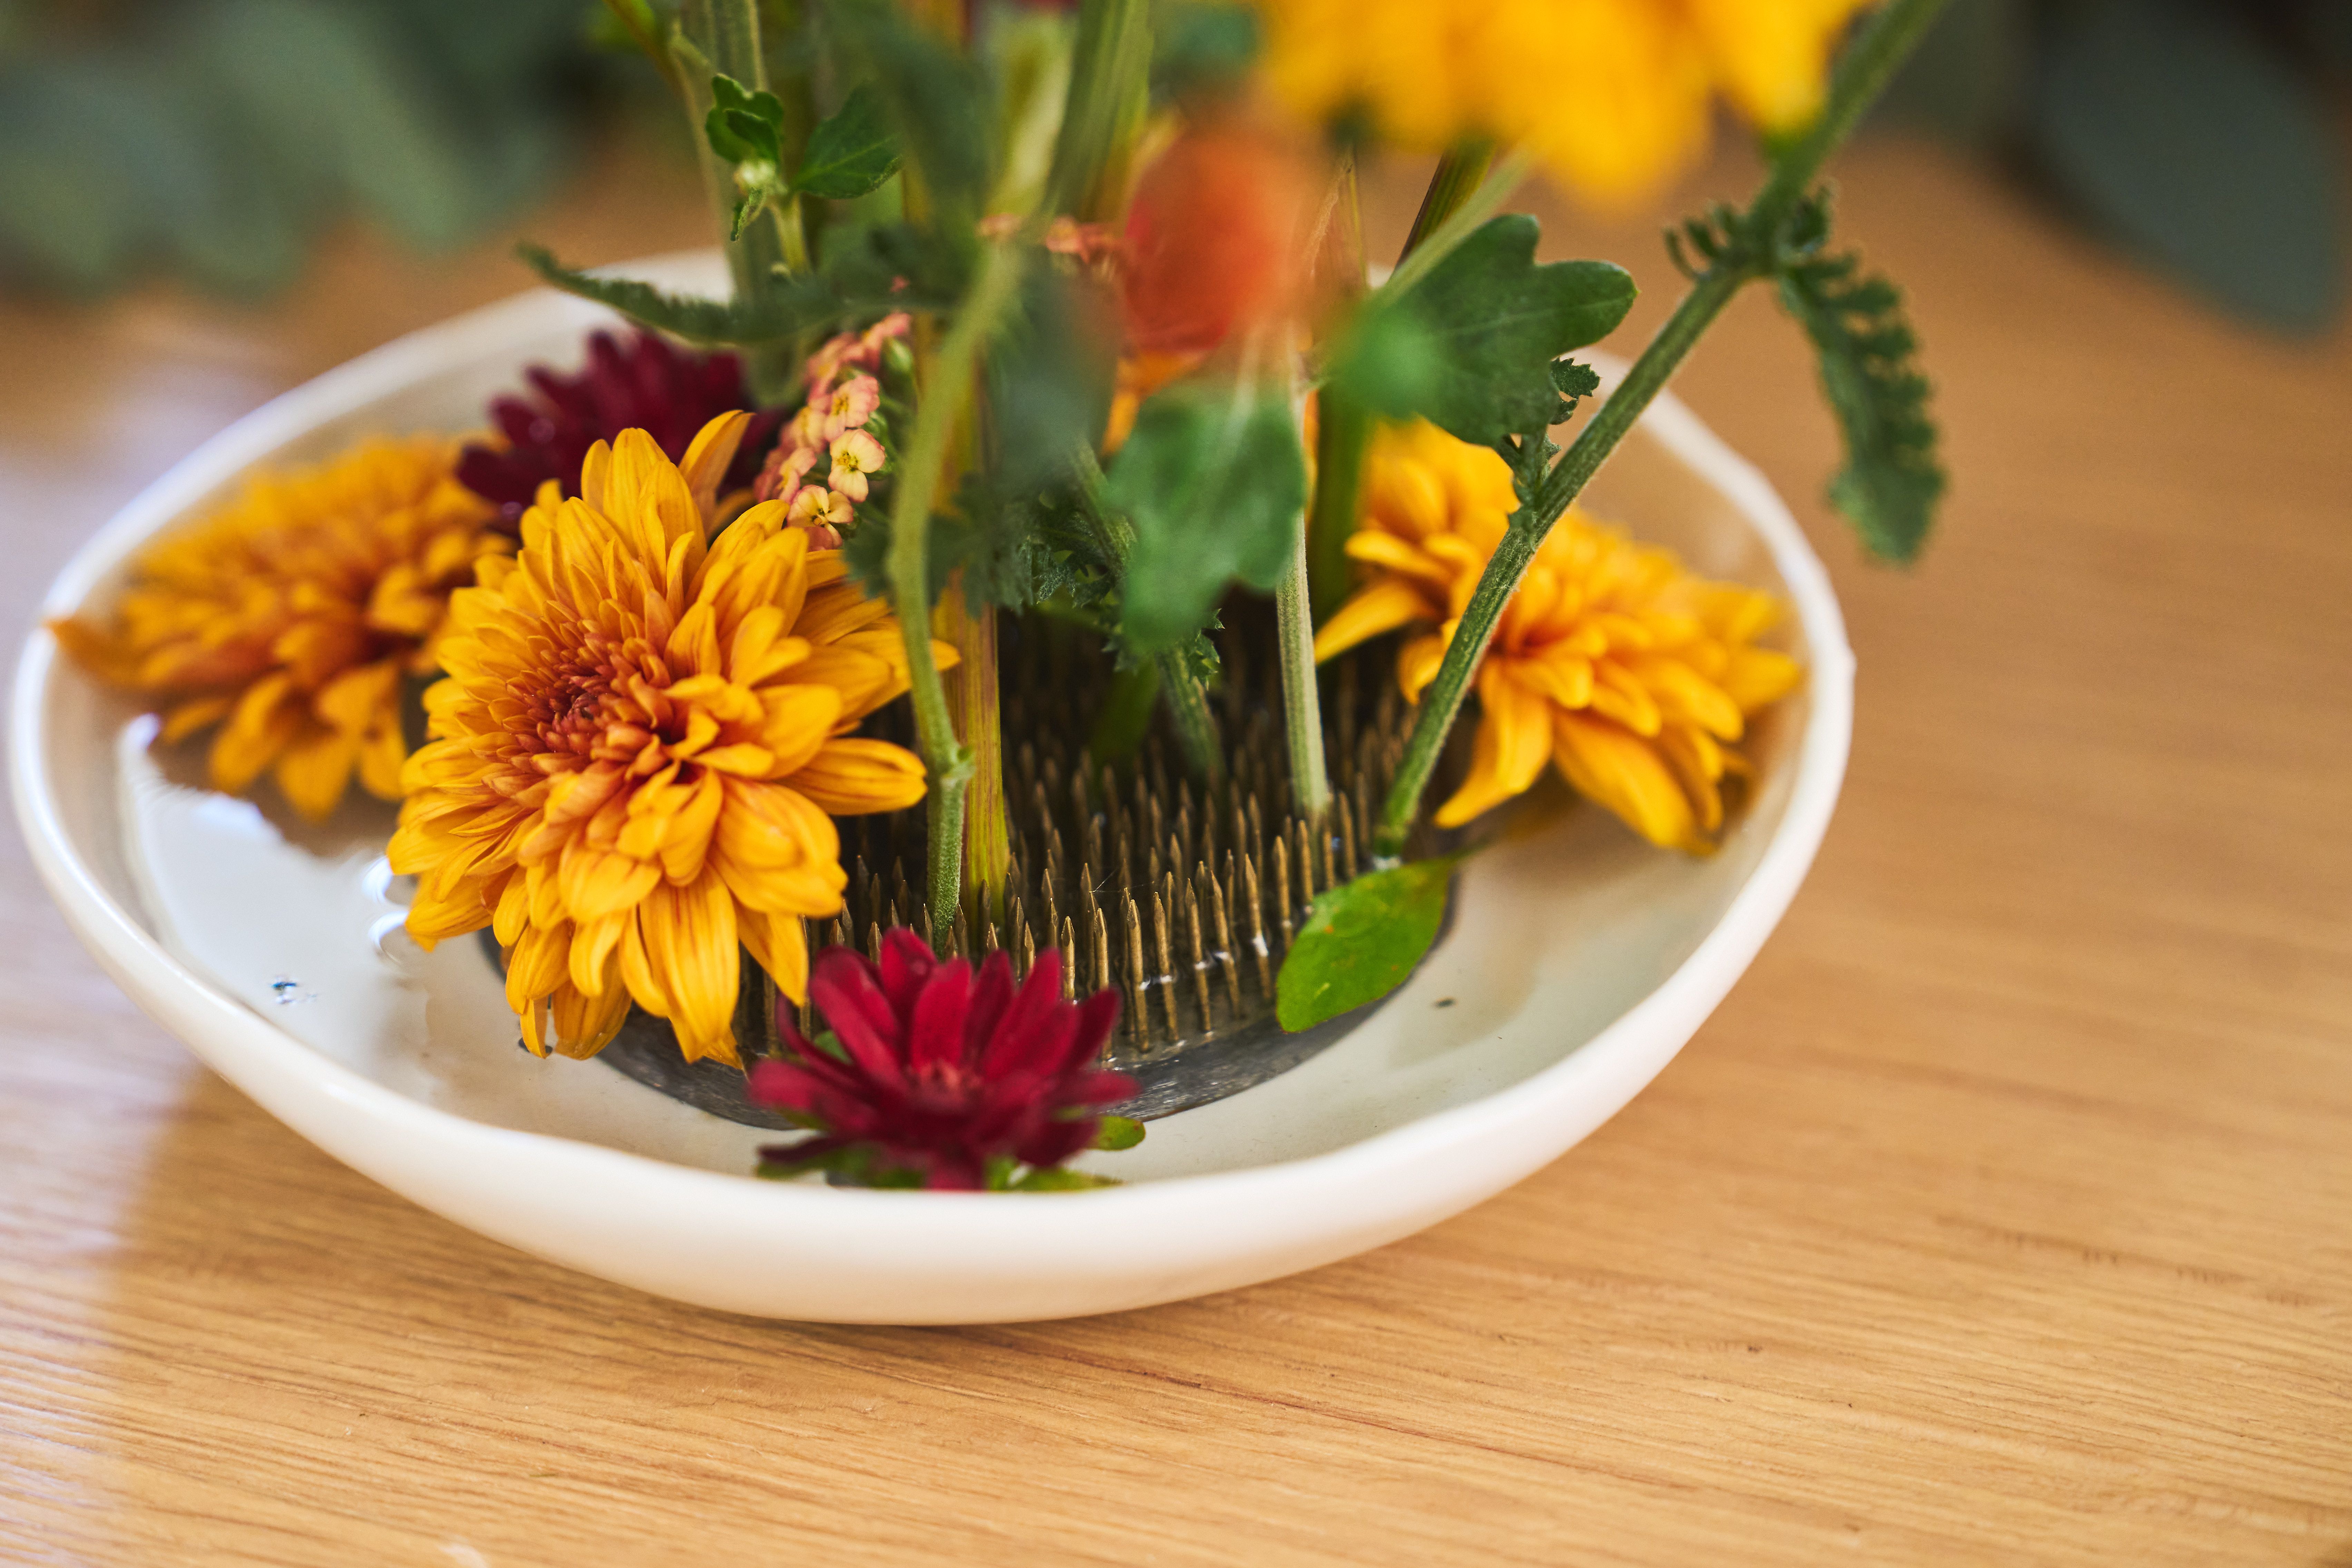
Step 5: Add a Few 'Extras'
Add a few additional flowers on top of the frog, floating on the water to soften the arrangement and conceal the mechanics.
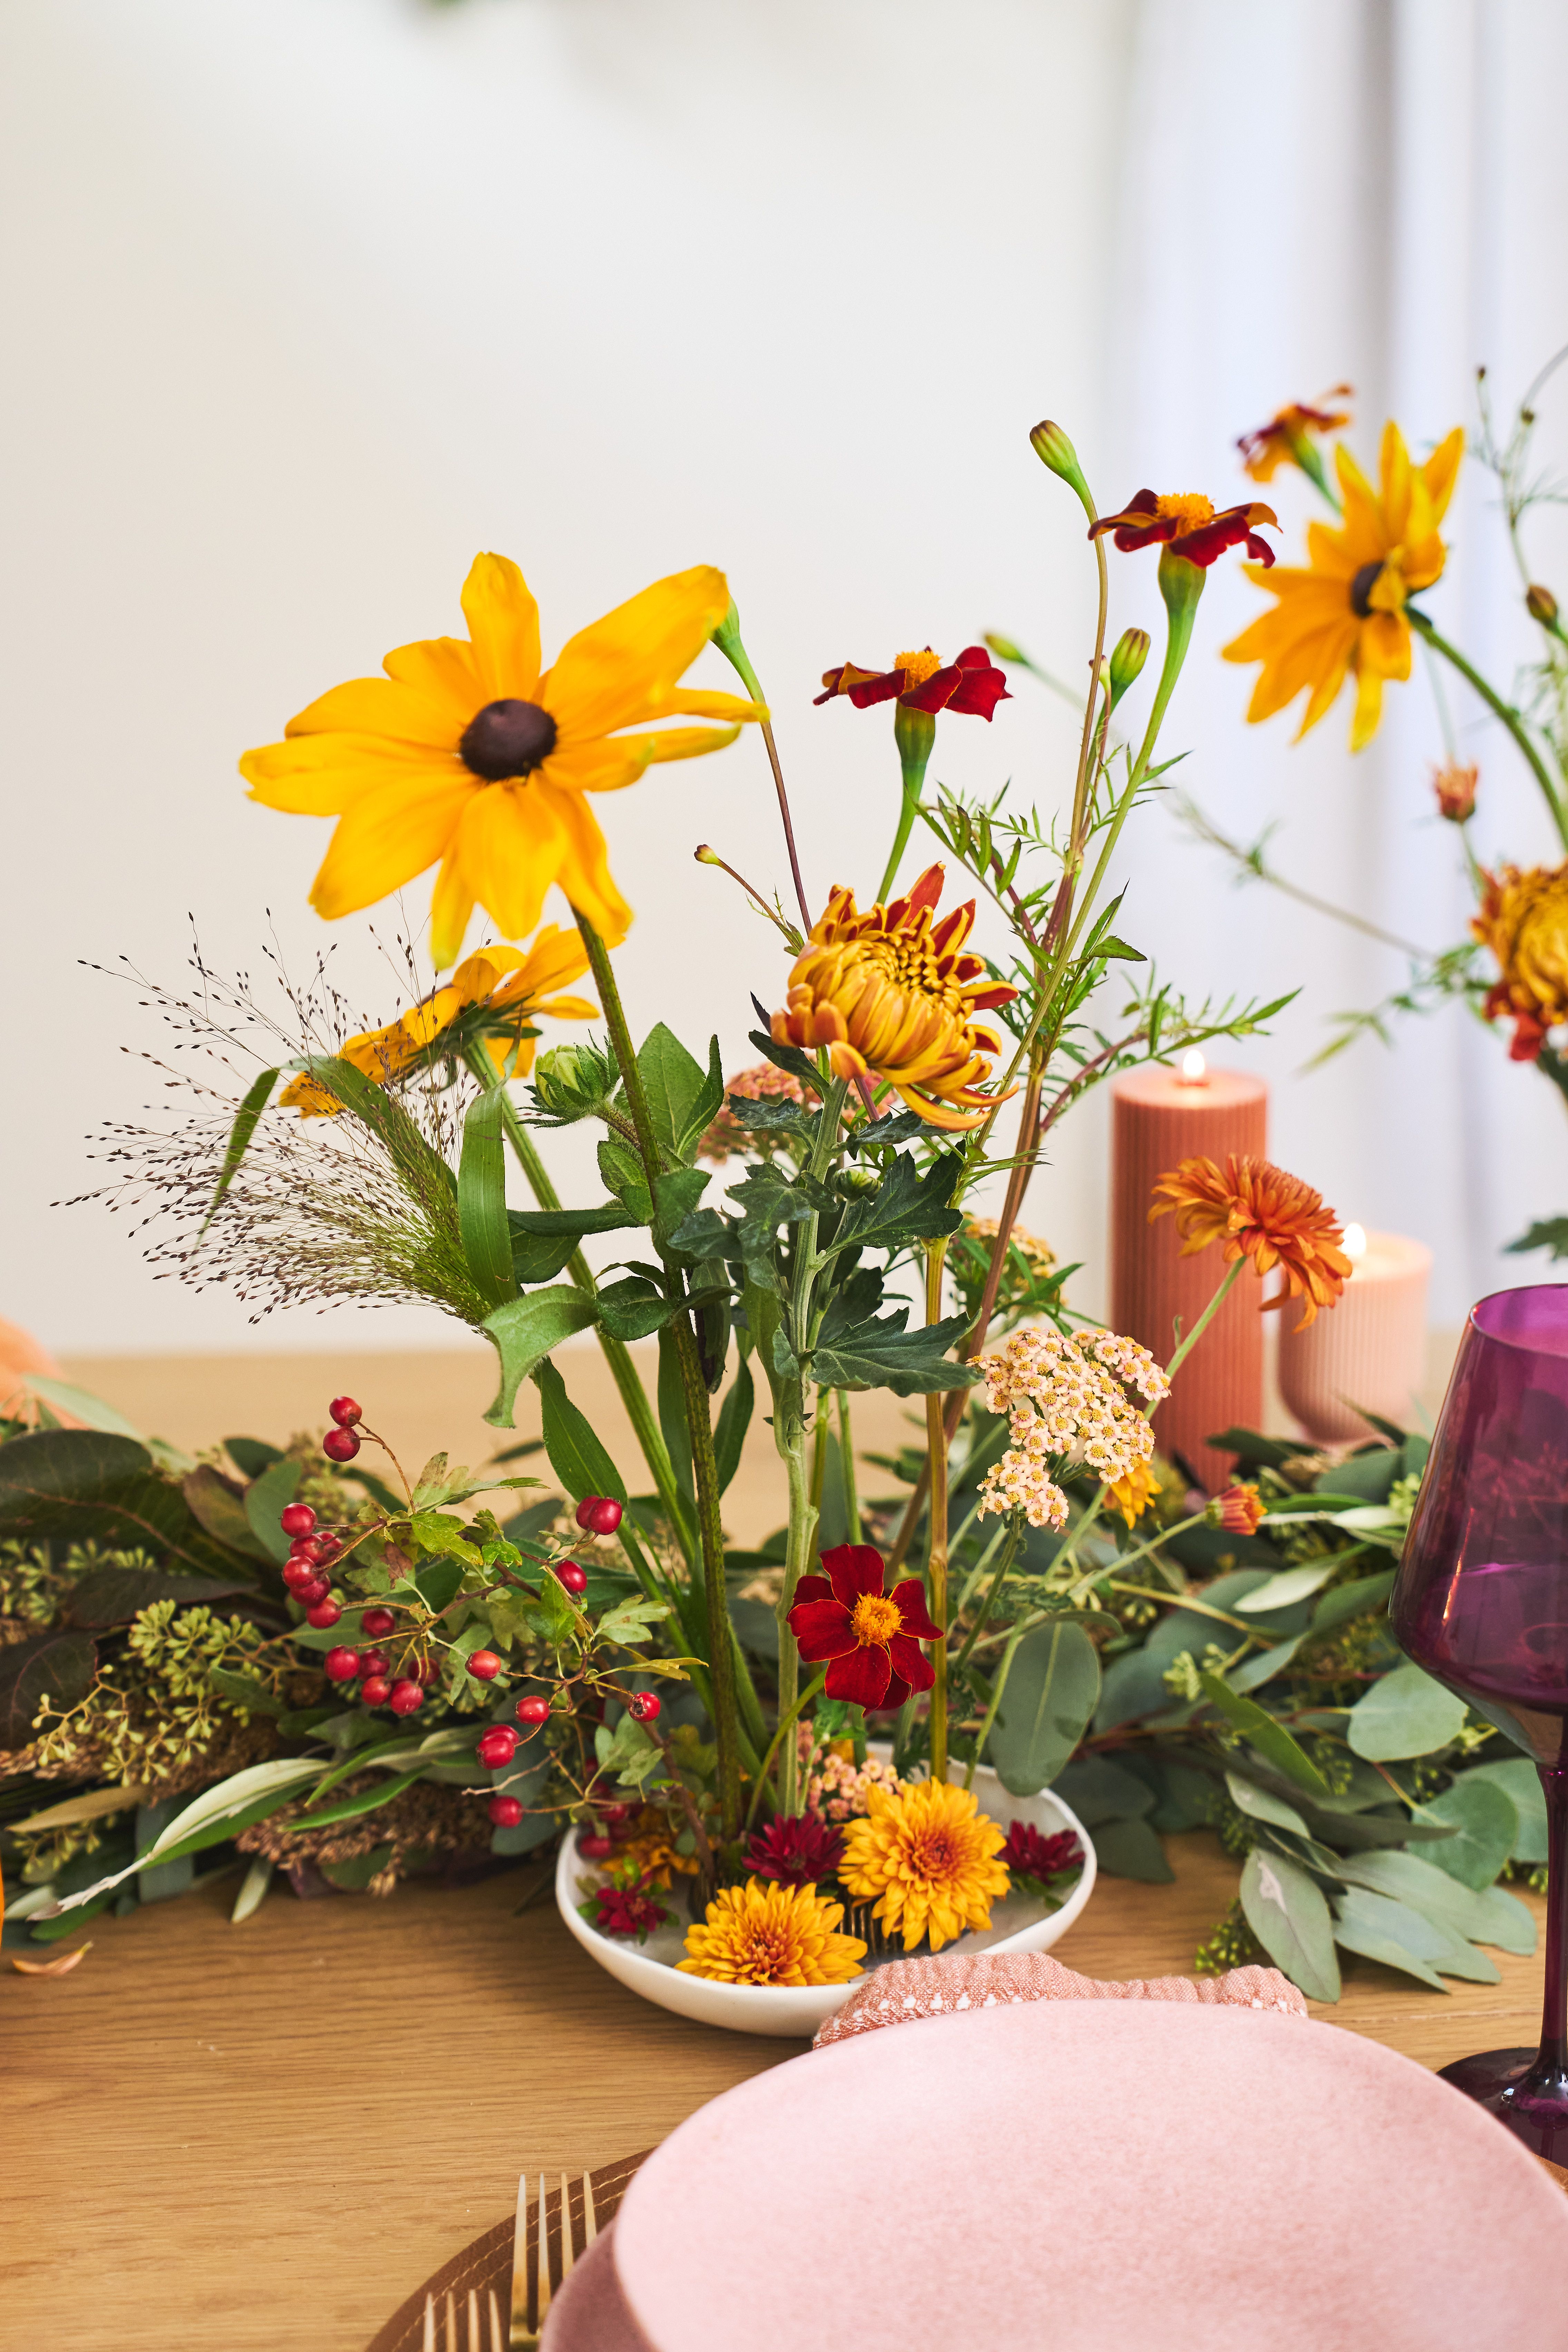
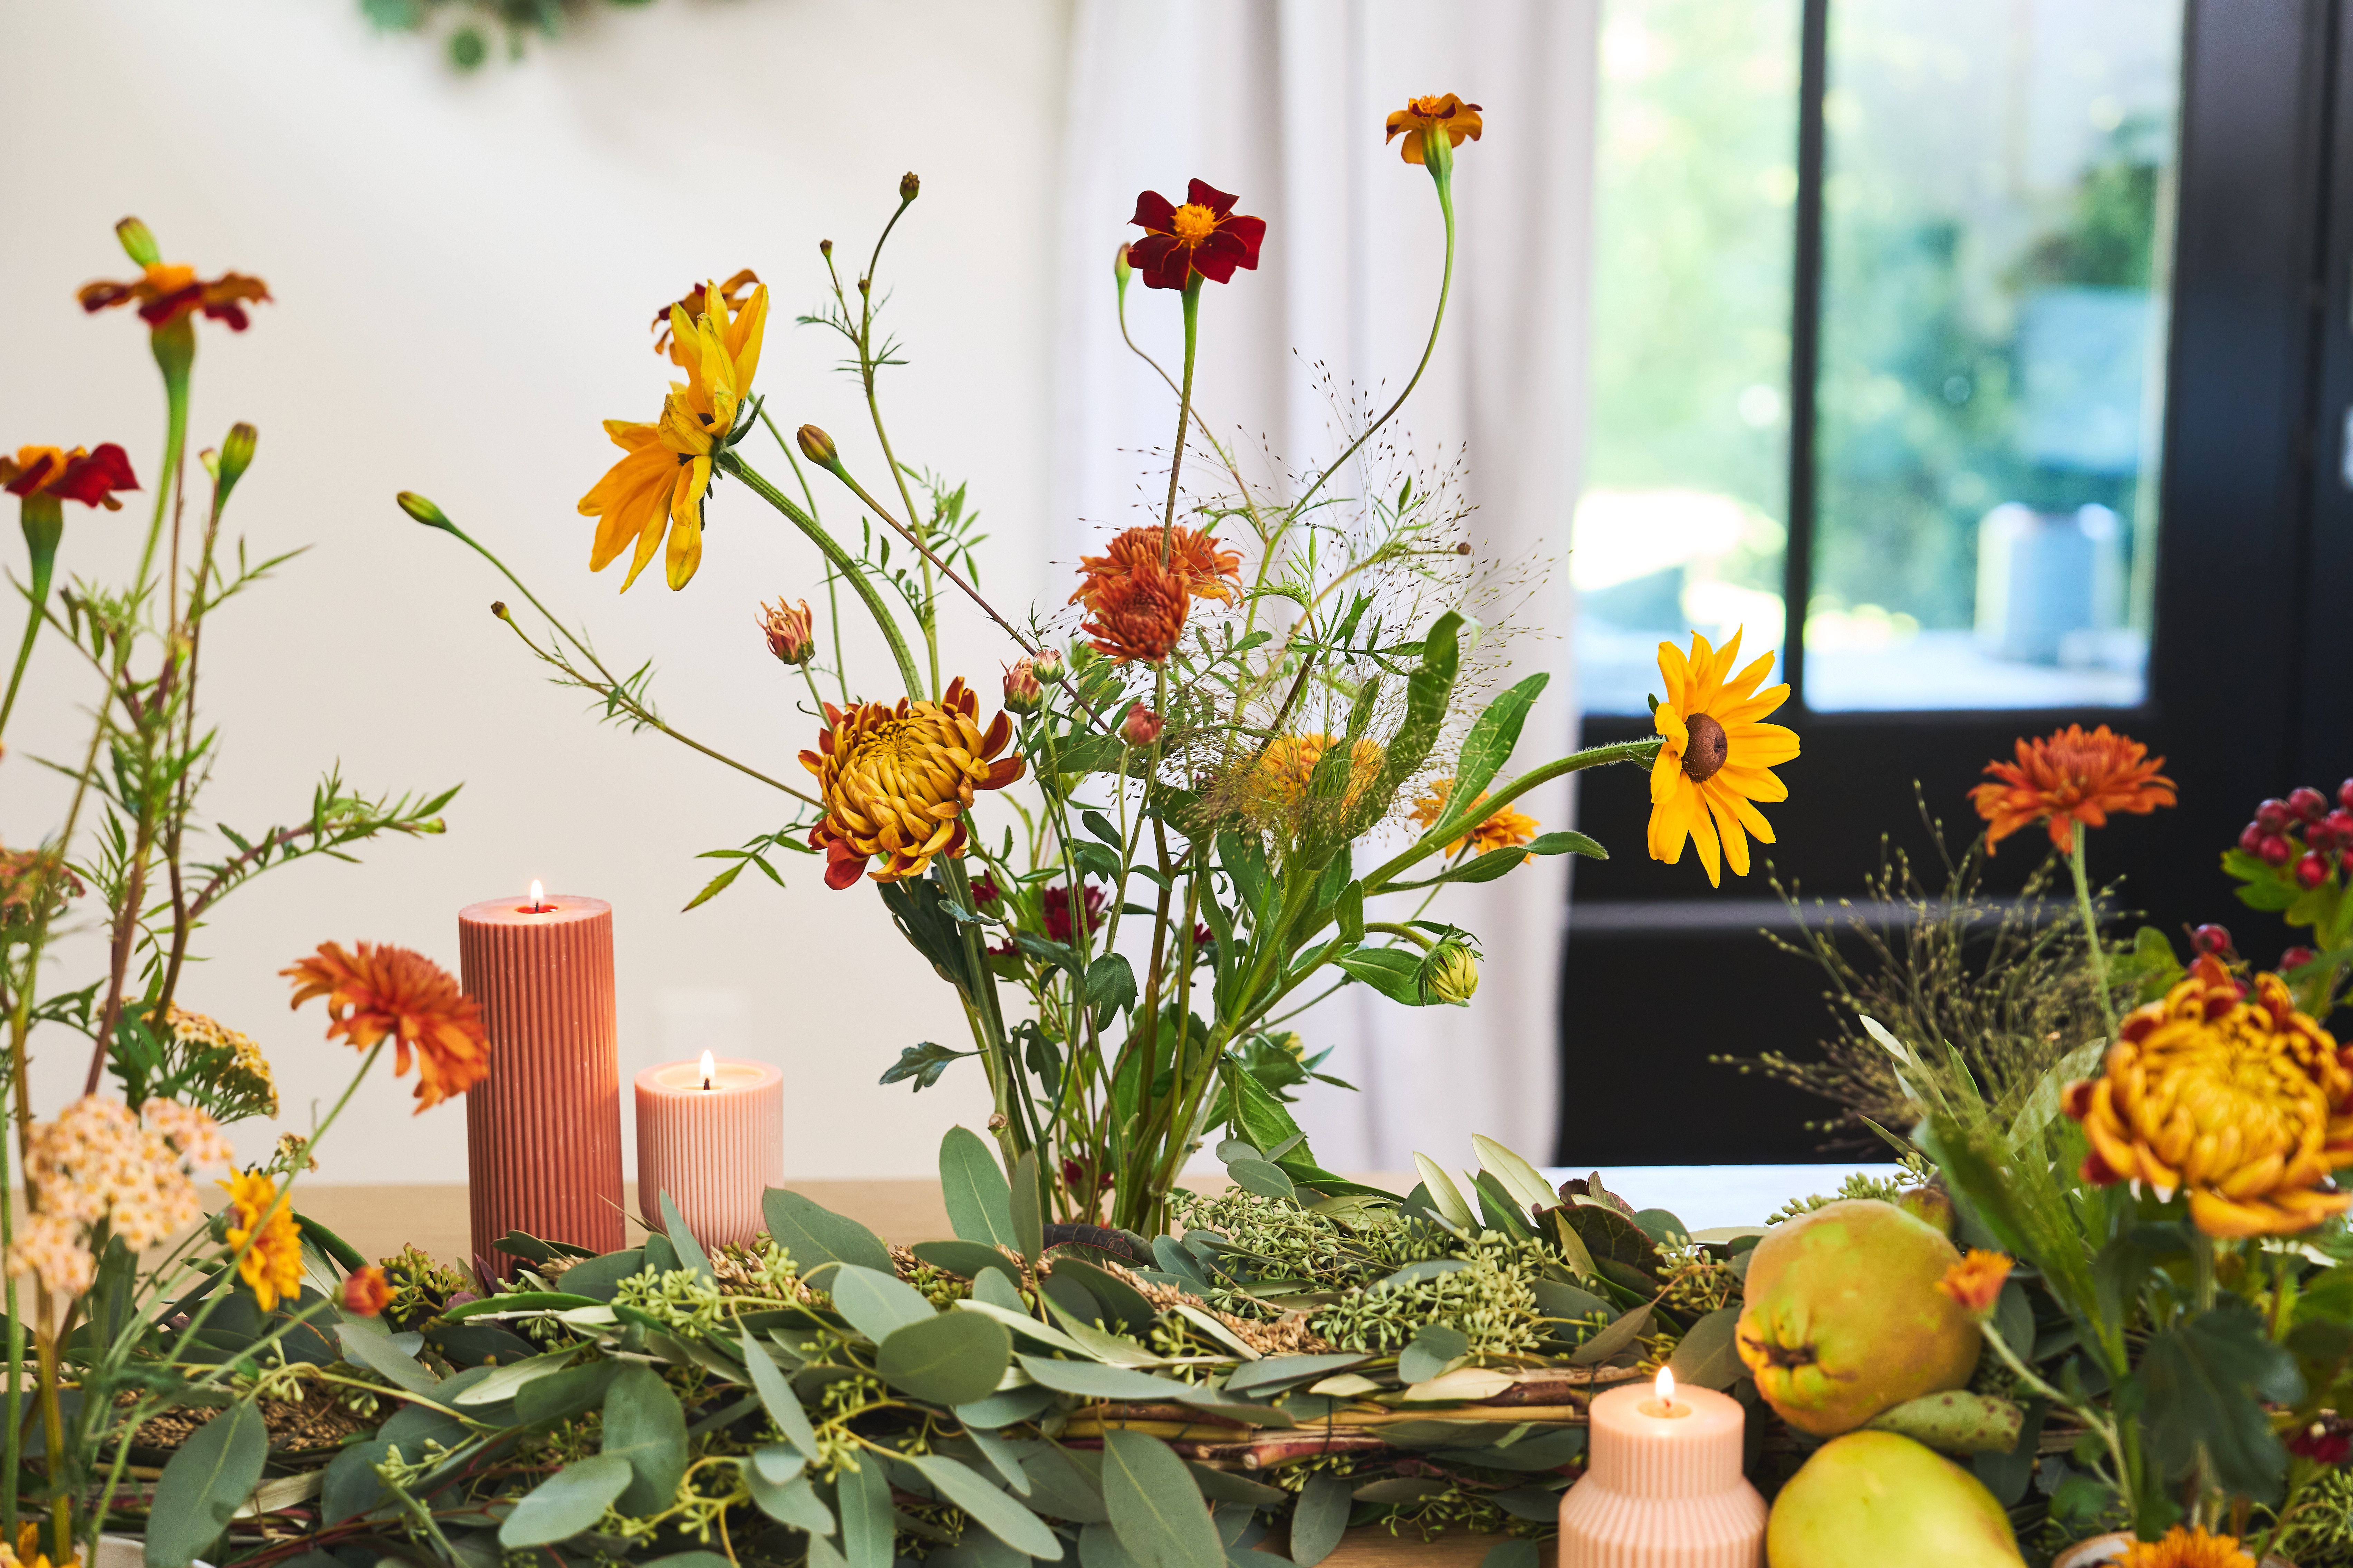
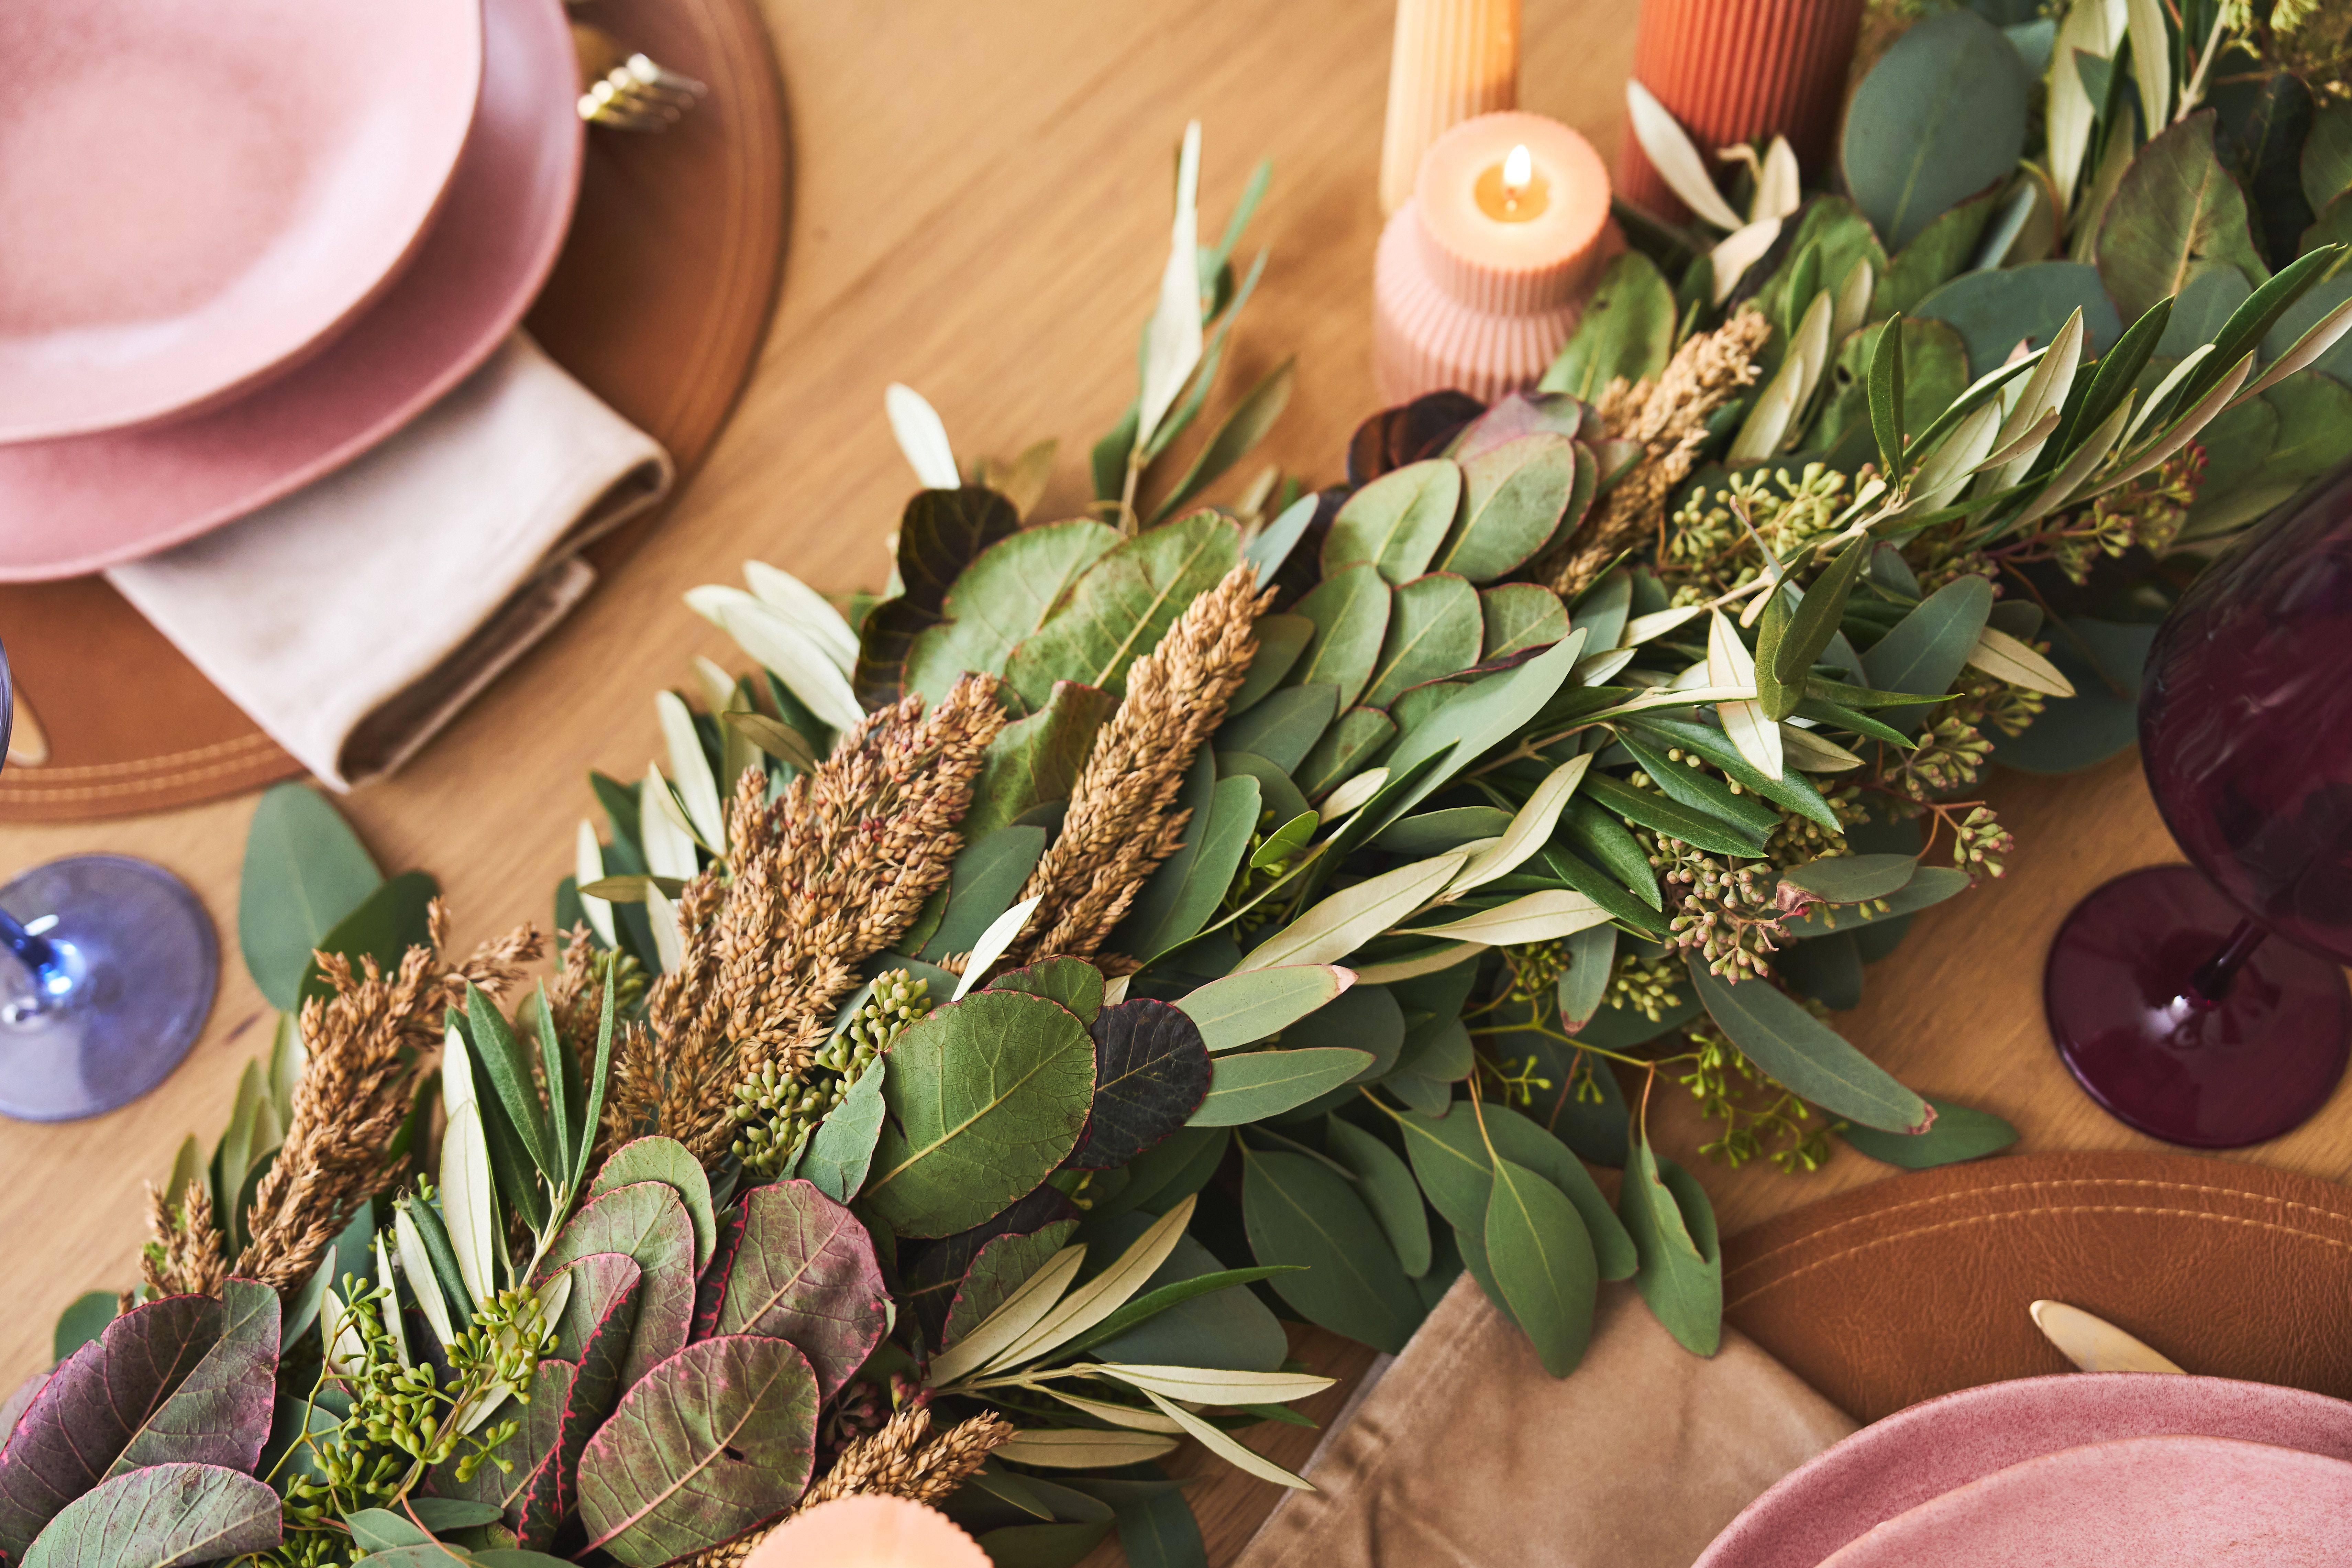
Assemble the Full Fall Tablescape
It’s time to bring everything together for the full fall moment!
- Drape your garland down the center of the table, letting it gently serpentine for movement.
- Nestle your vessels along the garland, alternating sides for balance.
- Add seasonal fruit and layer in candles to finish the look with a warm, cozy glow.
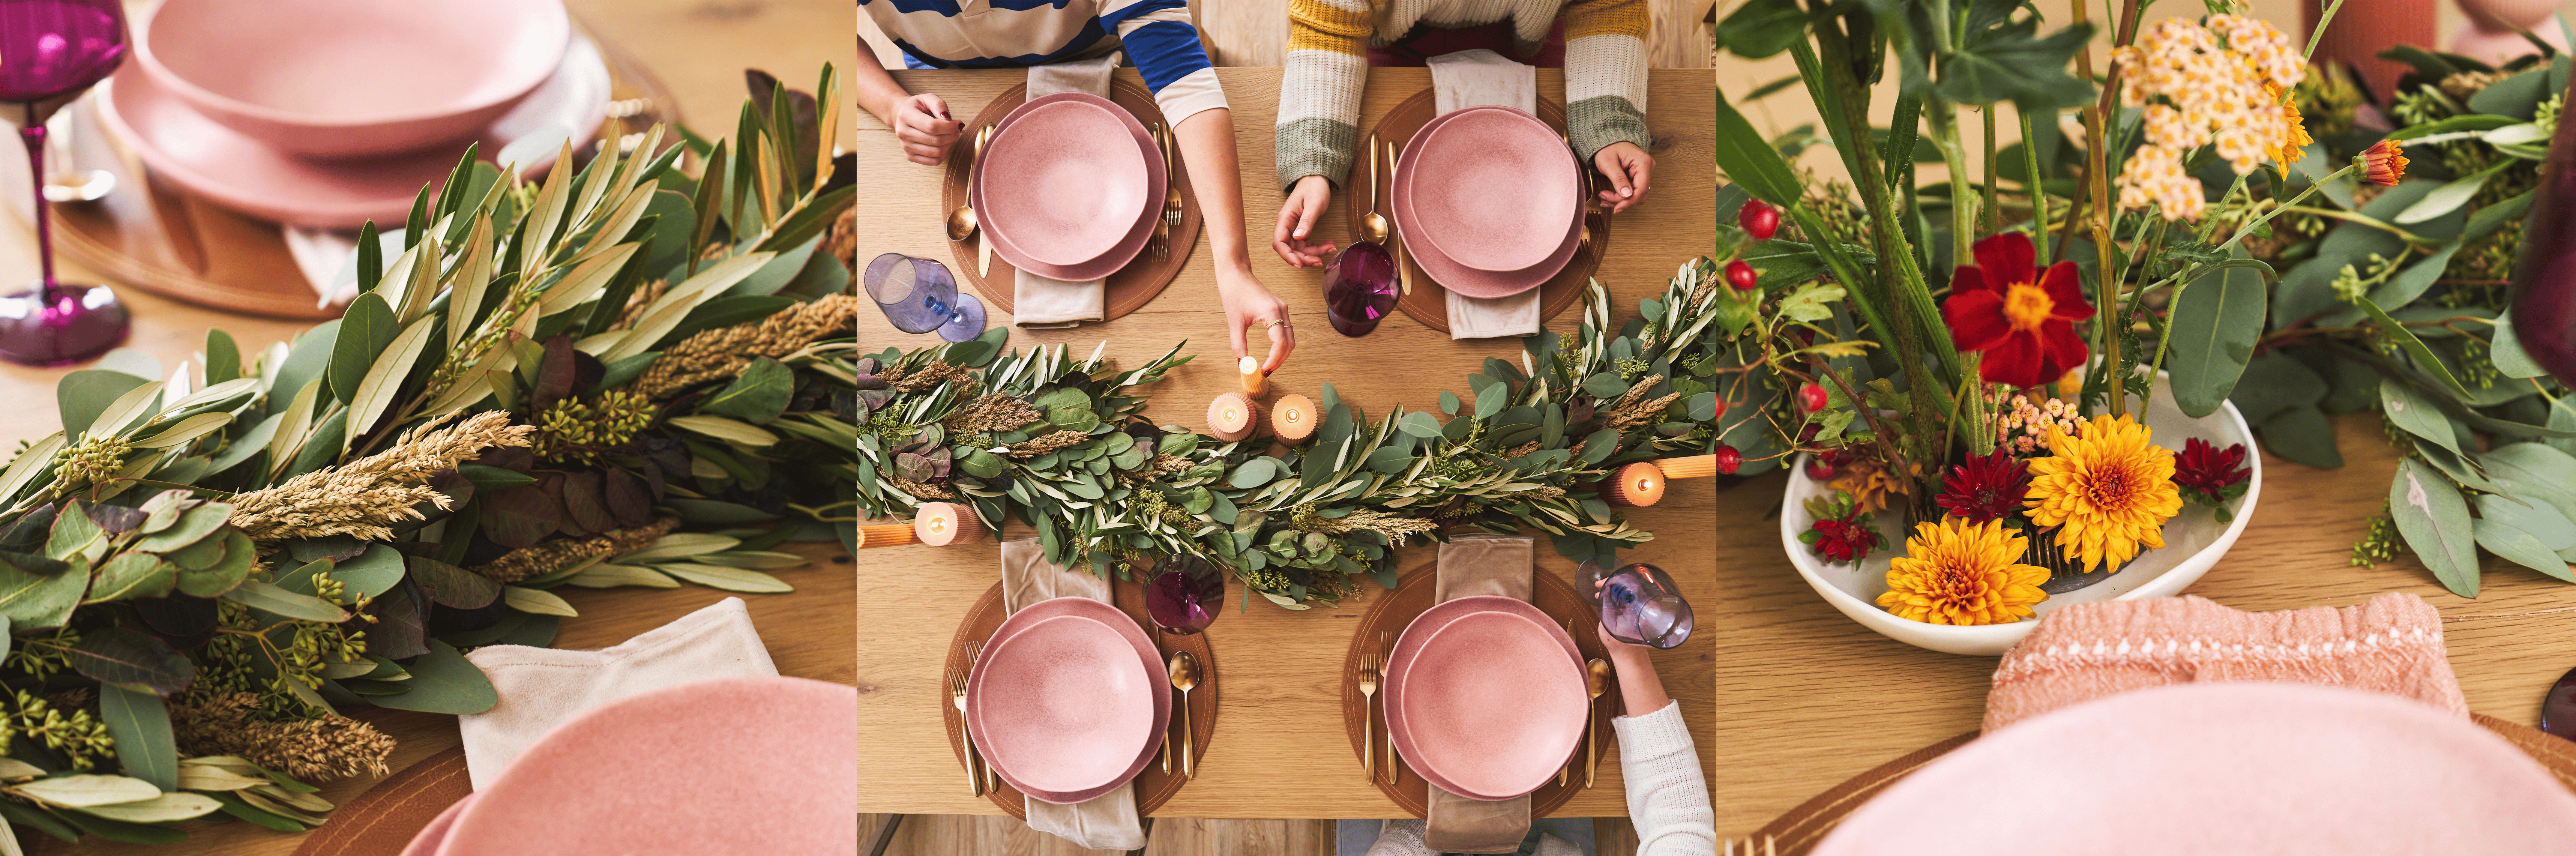
So there you go! A stunning tablescape with less flowers than usual but more greatness (and honestly more fun to make!). Ready to enjoy any dinner party whether that's Thanksgiving, Christmas, a Birthday dinner, or really just anytime you're hosting!
xx,
Team Farmgirl