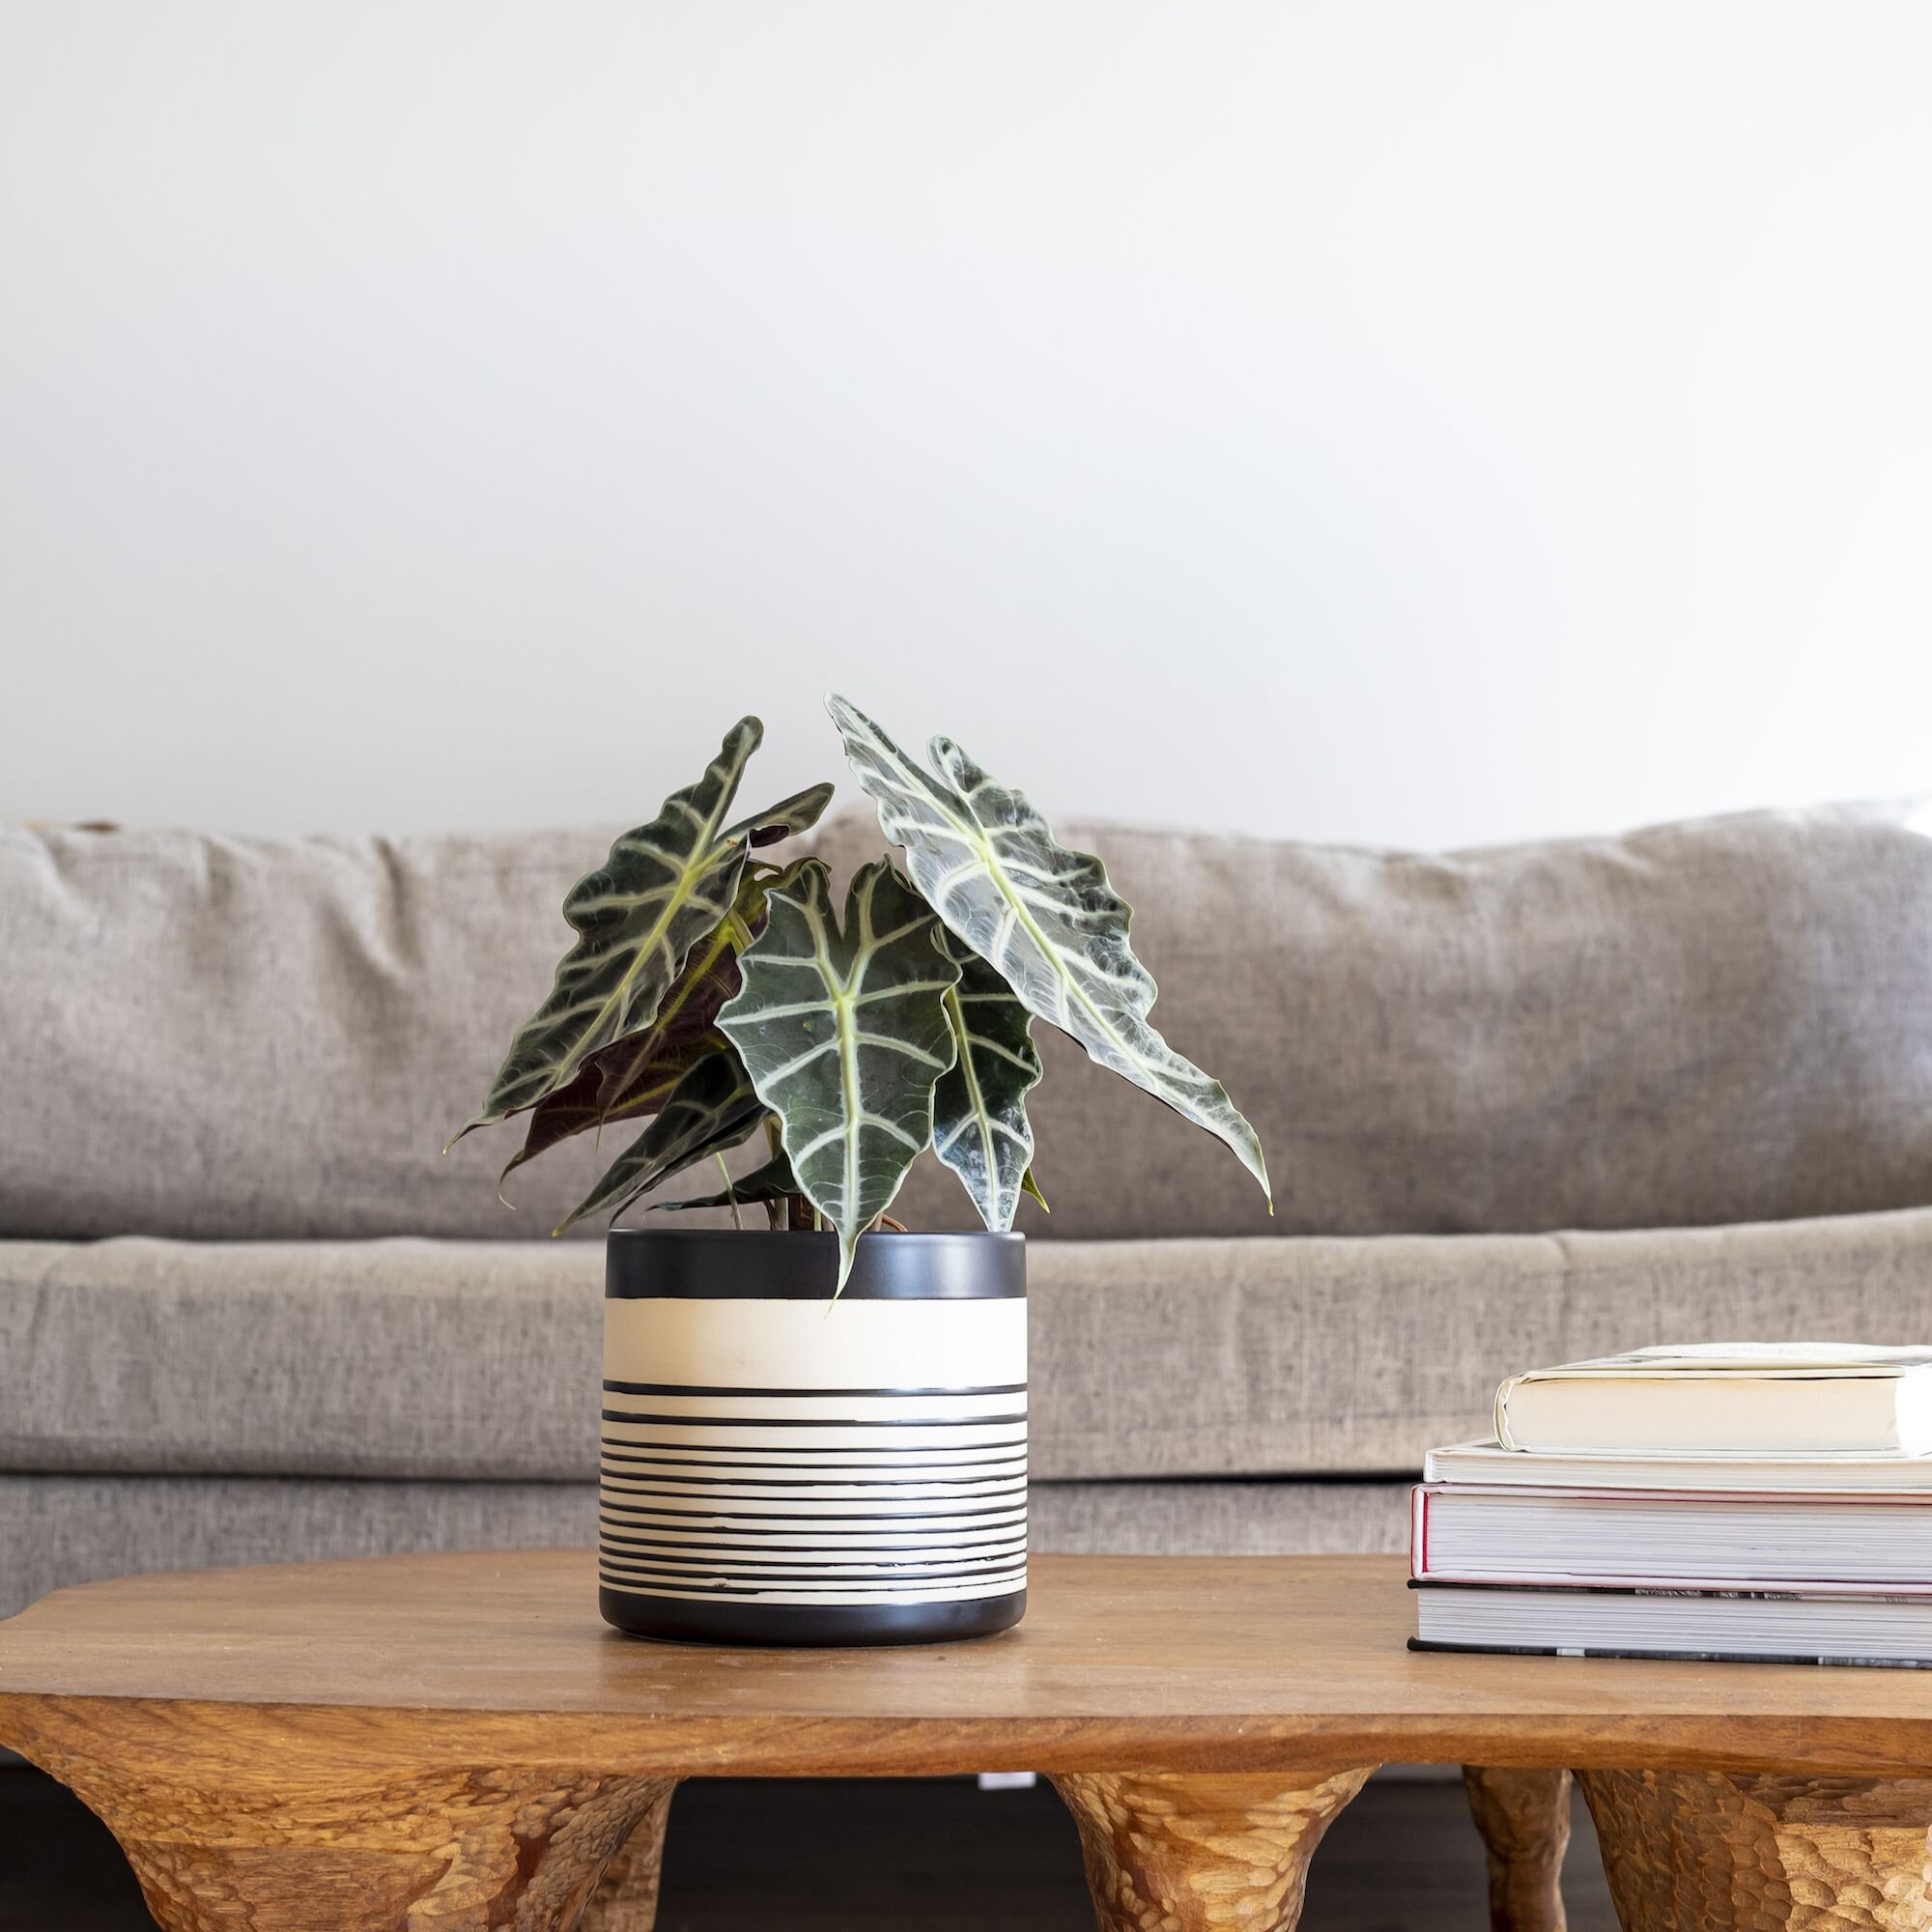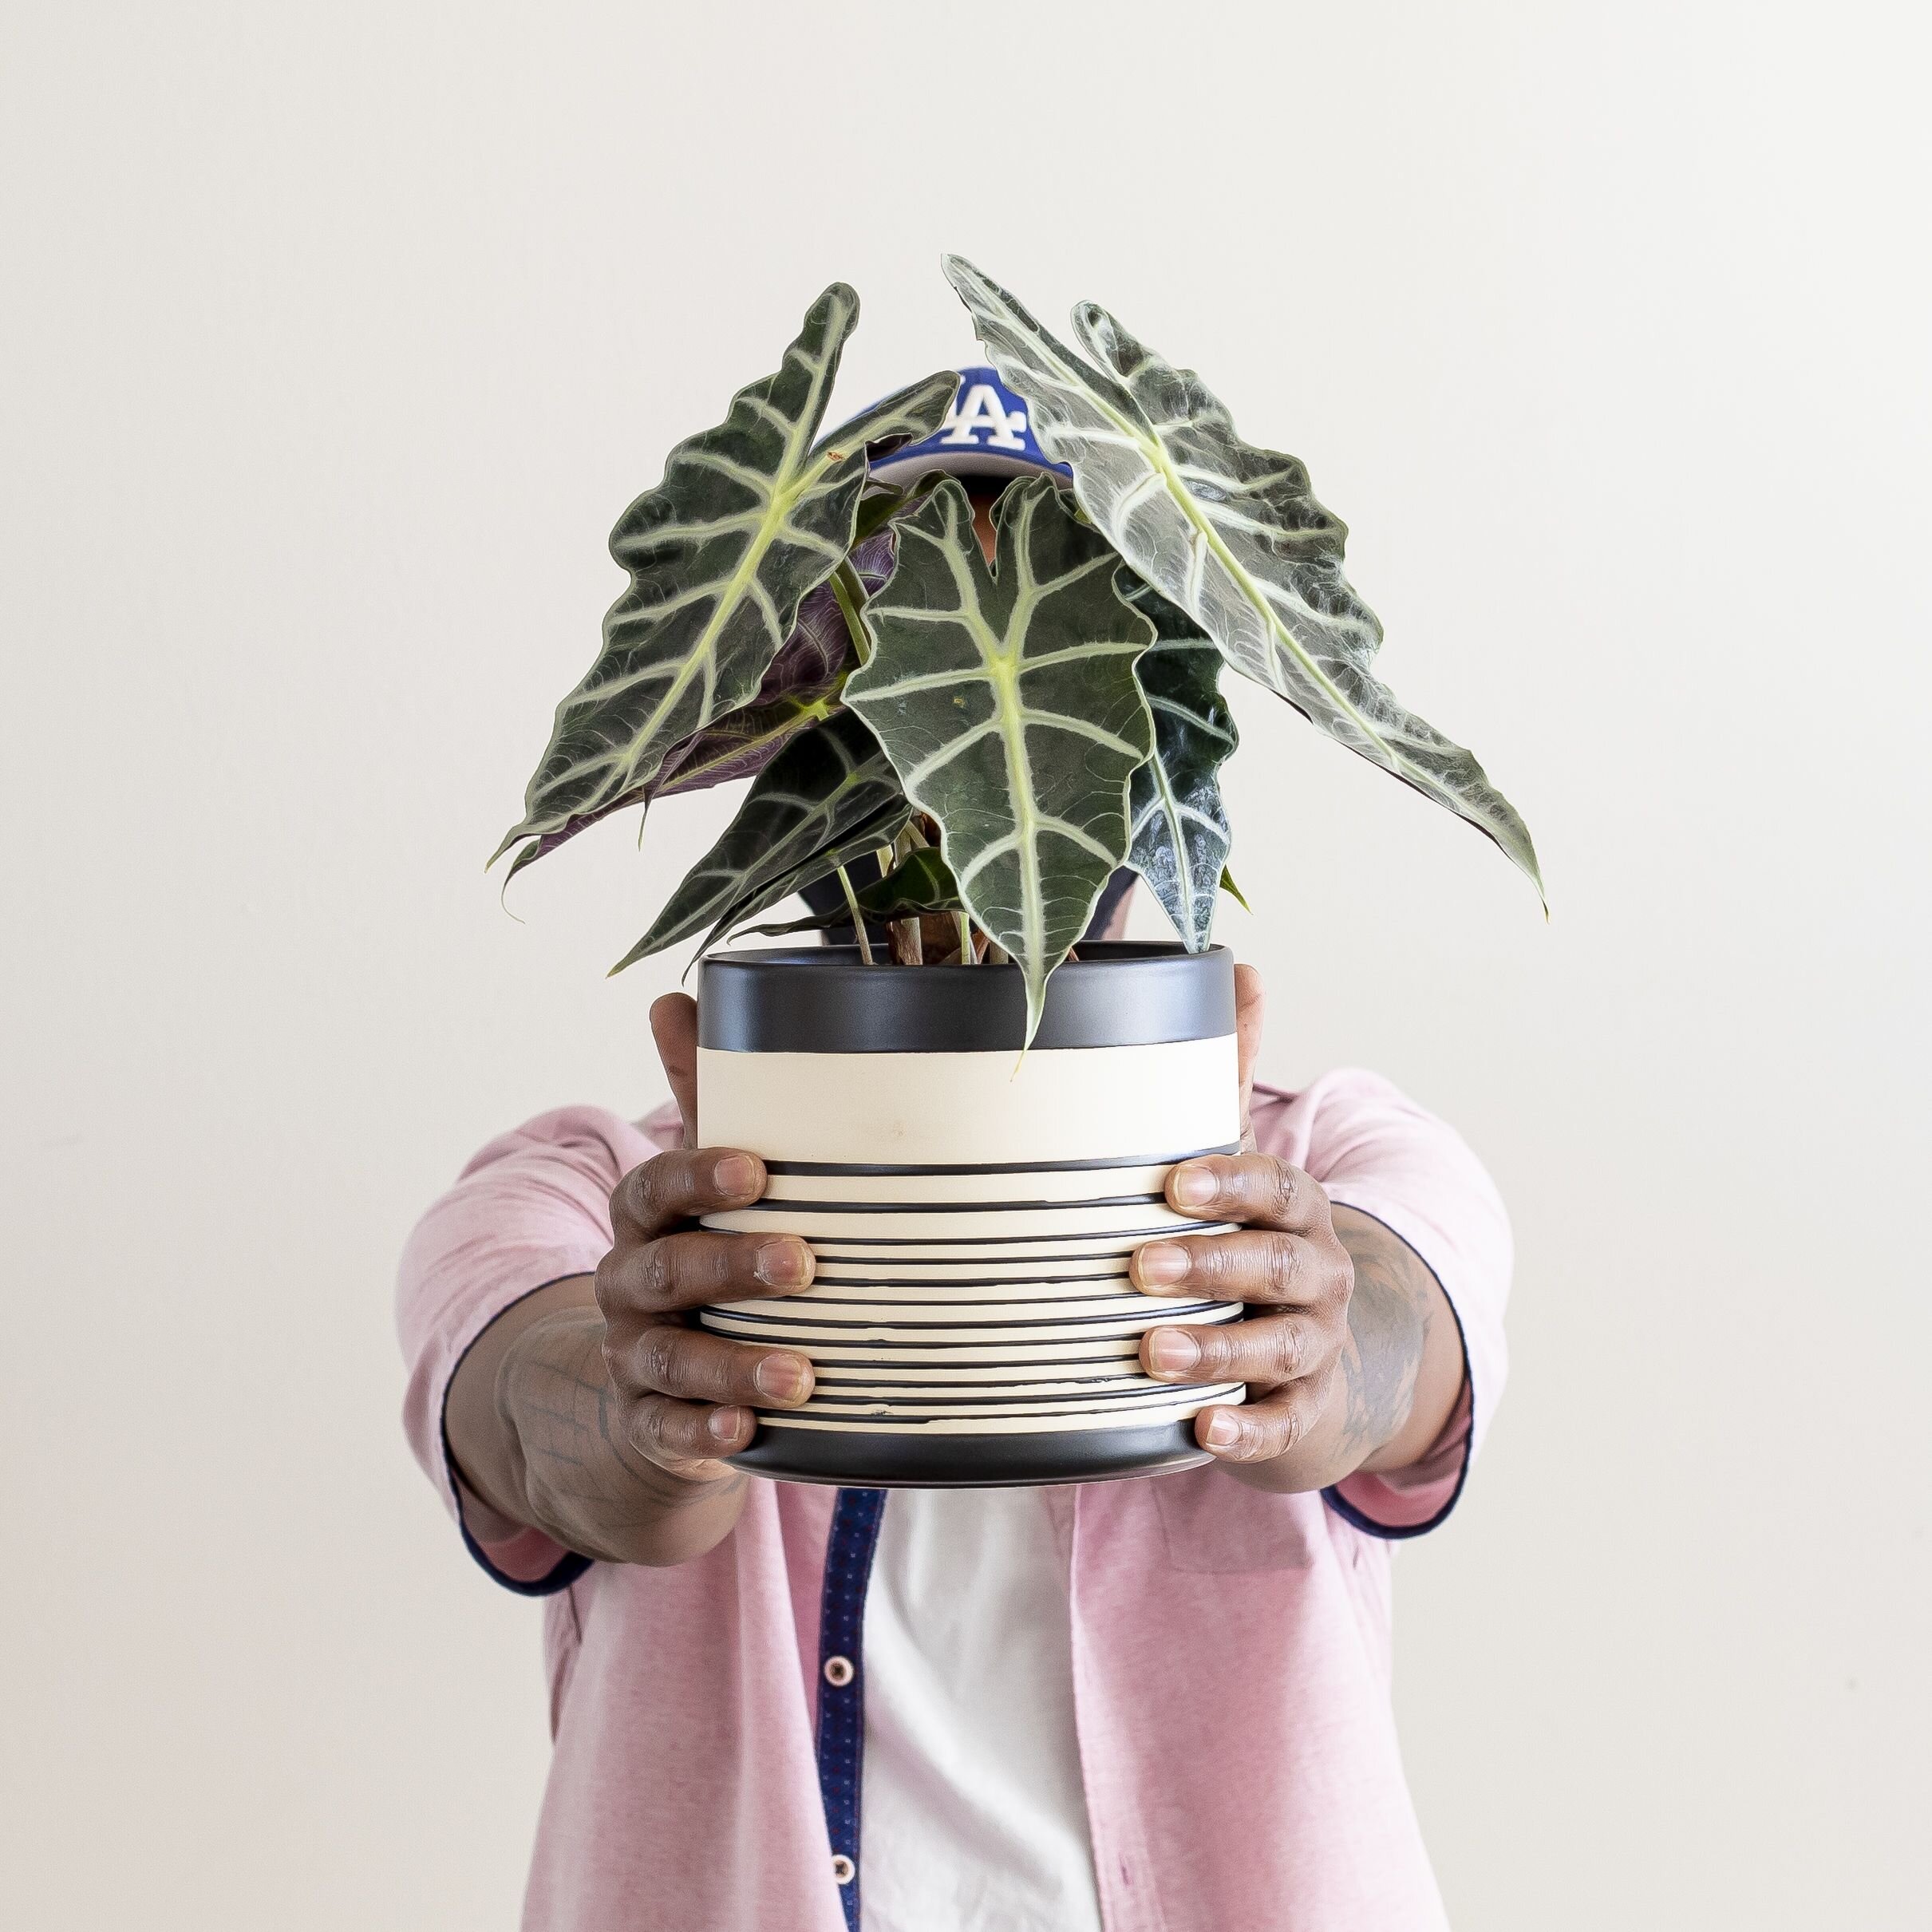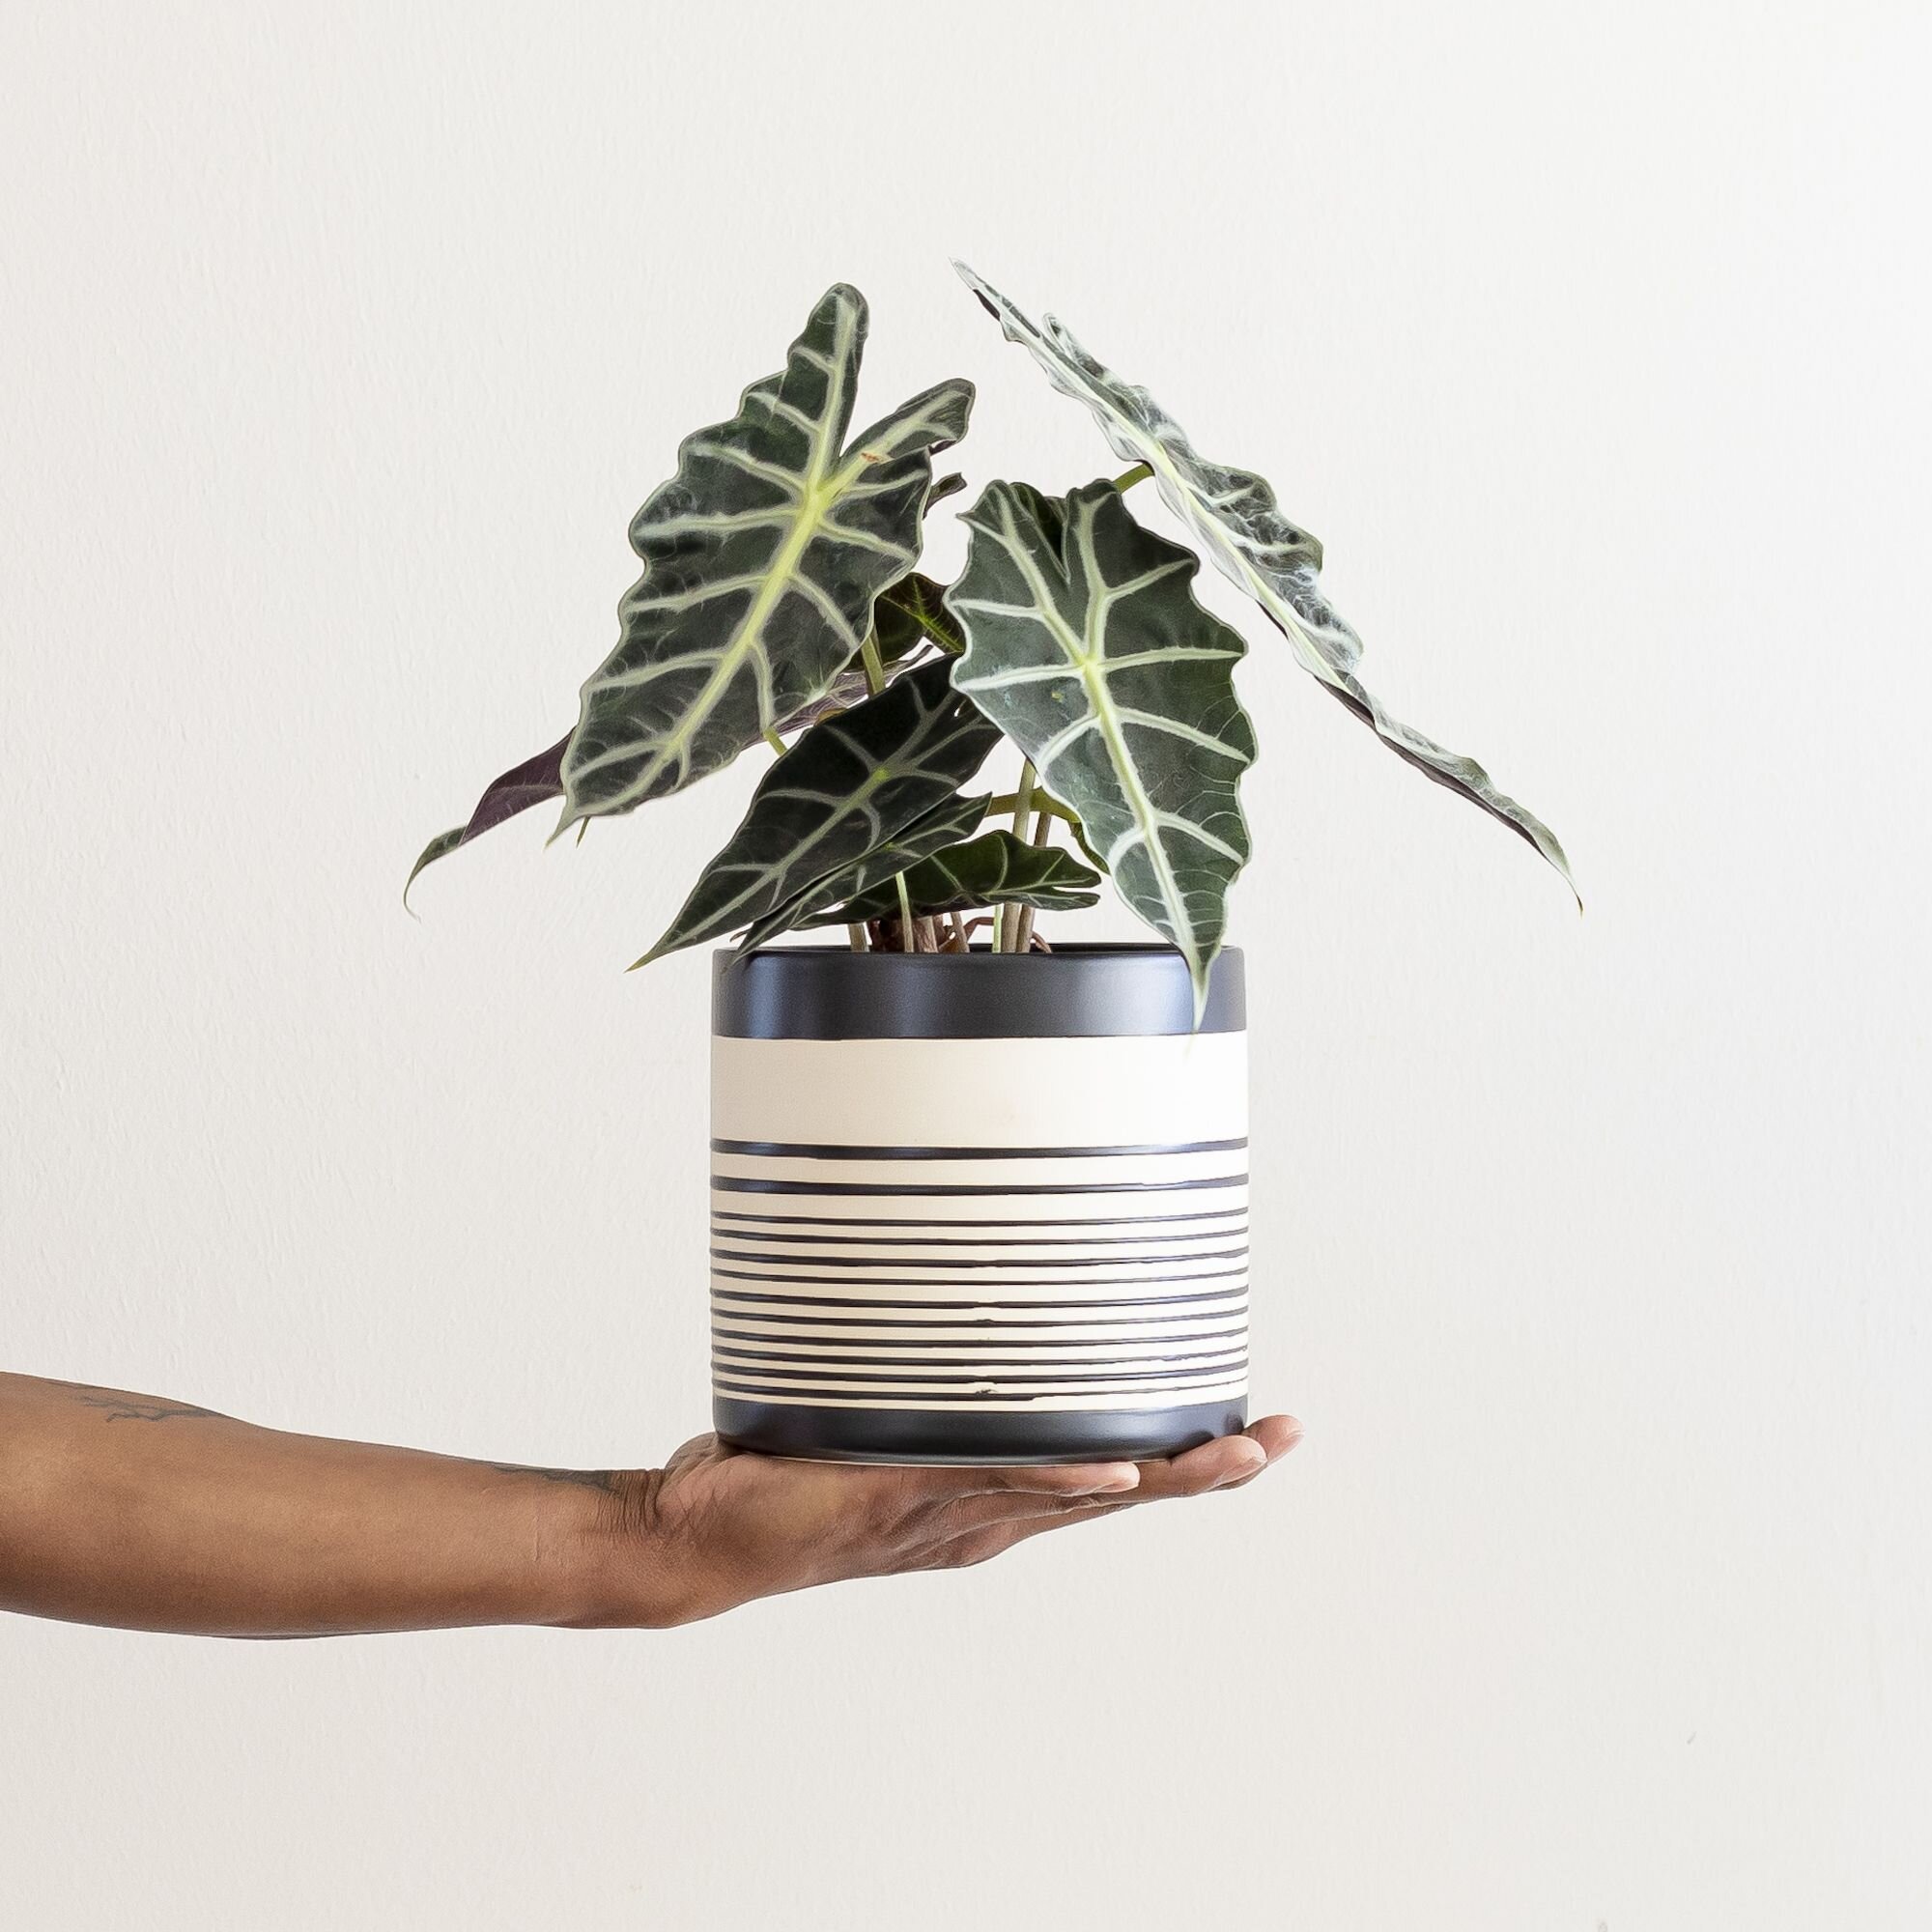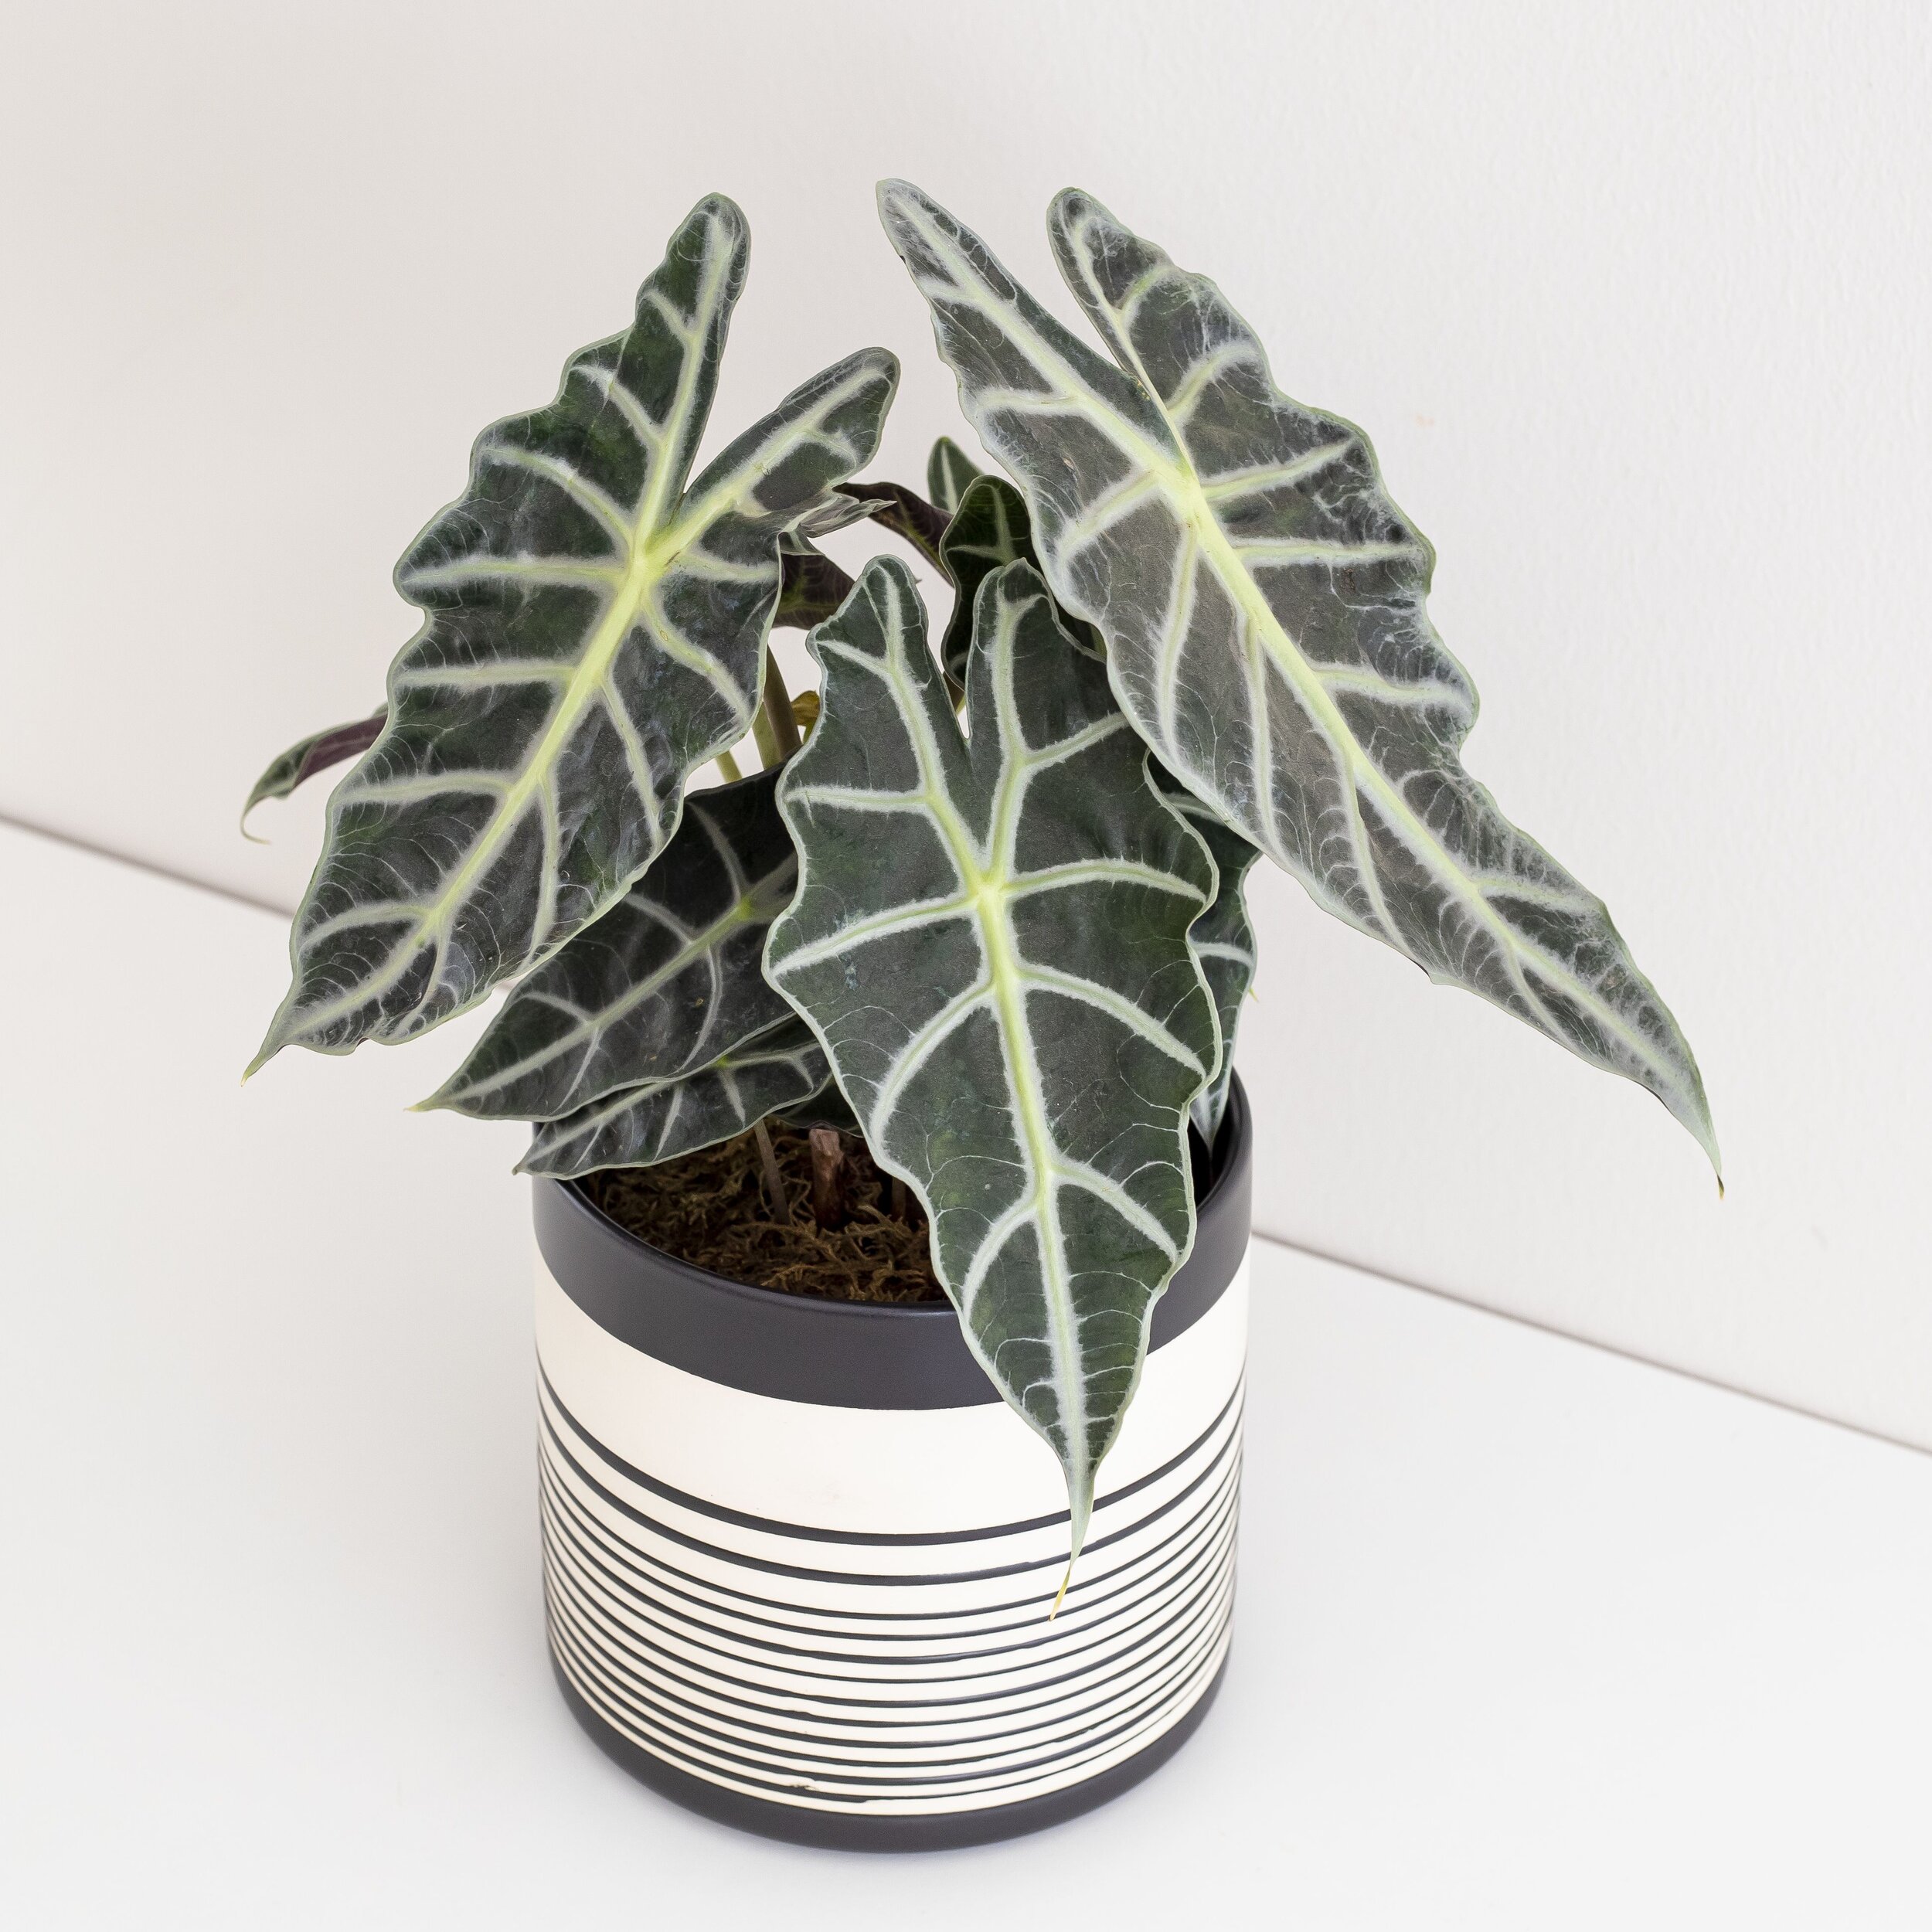
Alocasia
Plant Care
Step 1: Unbox Your Plant
Once you’ve unboxed and unwrapped your alocasia plant, you can discard or upcycle the packaging. Caution! Watch out for any dirt that may have loosened in shipment to (hopefully) avoid a mess.
Pro Tip: Prefer an even playing field? Gently shake the plant back and forth to level out any soil that shifted in the box.
Step 2: Find The Best Spot To House Your Plant
Alocasia are native to the rainforest and thrive in the muggy climes under a canopy of taller trees. Tend to their tropical nature by finding them a spot with bright, indirect light for the majority of the day.
Pro Tip: Never place your alocasia directly in front of a window as glass can magnify sunlight by up to three times. How to know what’s too much? You’ll notice browning and curling edges of leaves.
Step 3: Create A Watering Schedule
Create a watering schedule for your alocasia that allows the top inch or two of soil to become dry to the touch in between hydration sessions. You’ll notice this may be more than a week or as often as bi-weekly depending on the temperature and humidity in your space. And speaking of muggier climes, your tropical friend craves a little ambient moisture. Give it a little warm heat by lightly spritzing its foliage once or twice a week.
Pro Tip: skip the spray bottle and just bring your alocasia into the bathroom once or twice a week when you shower. You’ll enjoy a little lather, rinse, and repeat while your plant will enjoy a tiny trip to the tropics, all without leaving your bathroom!
Troubleshooting 101
To help make sure your new alocasia is allocated sunlight evenly, give it a quarter or half spin every few weeks! It’s also a good idea to give your plant leaves a good wiping with a soft, damp cloth every month or two as your alocasia’s dramatic foliage is prone to collecting dust.


